
Backyard Container Gardening - It's Healthy, Tasty, and Earth-Friendly Too!
Updated August 2014
One of my favorite summer hobbies is gardening. It's easy, fun, relaxing and economical, plus the food tastes so much better than store produce. Late spring is the ideal time to create your own backyard vegetable garden. When I was growing up we would plant a huge garden every year. My dad would focus on the planting and growing and my mom would can or freeze everything. Of course, the kids were “drafted” to do grunt work for both. Most of the year we were eating our own homegrown fruits, berries and vegetables, it was great!
Living on a small city lot limits our ability to plant a garden. With the large trees in our neighborhood the only good sunny spot is right smack in the middle of the backyard. We’ve tried planting around the edges in years past but it just doesn’t get enough sun. The next best thing is a container garden, since the patio and deck get good afternoon sun. We’ve been growing tomatoes, basil, Italian parsley, oregano and other herbs with good success for several years now. One of these years I'll convert part of that sunny lawn into a nice raised bed garden, because there's nothing better than growing your own food.
I’ve put together some simple steps on how to create a garden, as well as our latest tips and tricks for backyard container gardening. We’re also compiling a collection of recipes specifically designed around the backyard garden. Let’s start off with plant selection.
Choosing the Plants
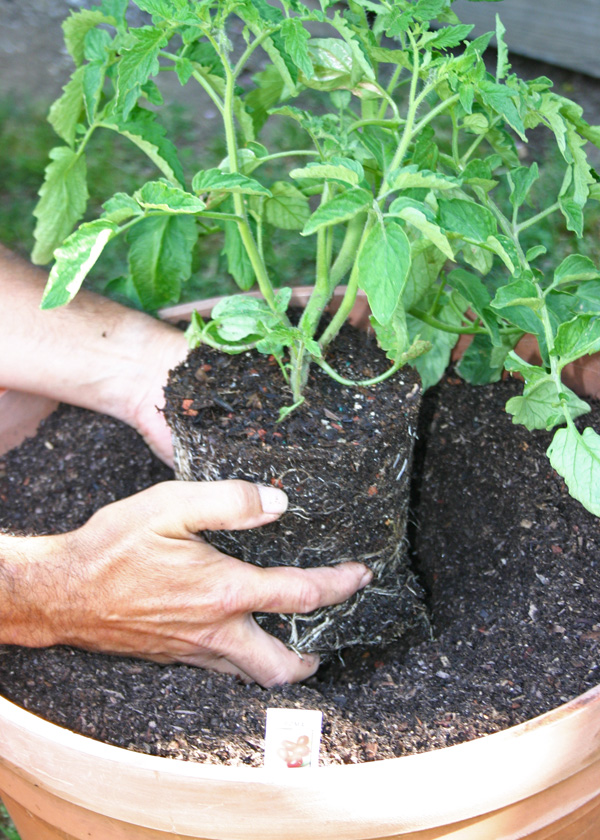
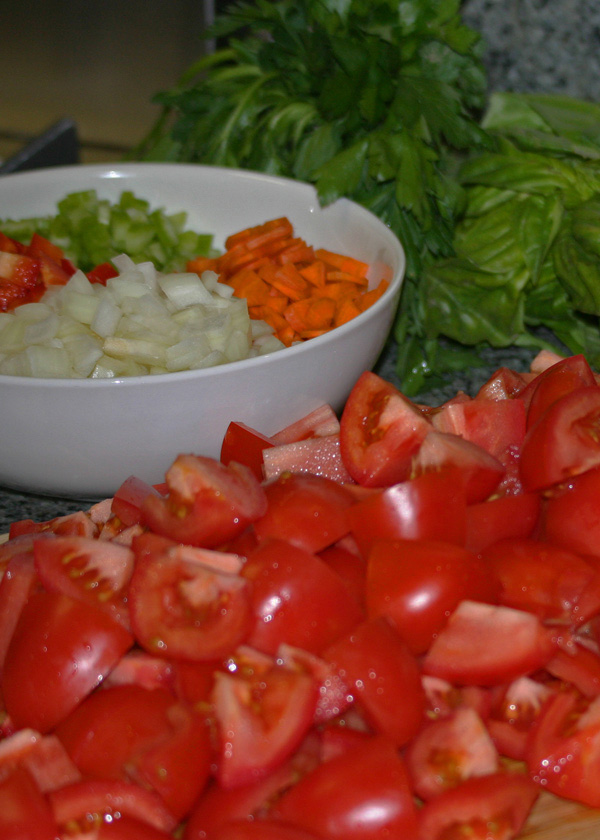
The first question to answer is which vegetables would you like to grow. While you can grow almost any vegetable in a pot, some are more practical than others and deliver meal after meal for months. I always start with Roma tomatoes because we love Fresh Tomato Sauce and they are so versatile for many other recipes like Bruschetta, Caprice, Fresh Salsa, Fresh Tomato Pizza and Grilled Tomatoes, to name just a few. We always throw in a cherry tomato plant because they’re great in salads. Next are the key herbs that taste especially good when fresh. Basil and Italian parsley are a must. We’ve included oregano and thyme this year. Our big new additions this year are pickling cucumbers and dill. These will go into Panzanella Salad, Cucumber Salad and Homemade Crock Dill Pickles.
I like to shop around to find good healthy plants. Look for plants that were recently delivered to the garden center. This year we bought a large one-gallon basil plant from Trader Joe’s for about four dollars. A large bunch of basil is about the same price in the grocery store. The rest of our plants are from Summerwinds Nursery, this year. Home Depot and OSH are also good sources for vegetables if you can get them soon after arrival. They sometimes take a beating in the garden centers. I will usually pay a little more to get the largest size plants. They grow really fast and we reach the harvest season much sooner.

The Containers
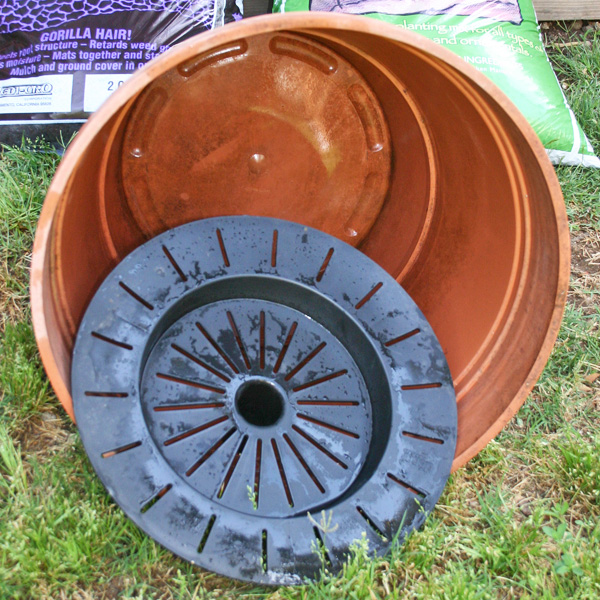
There's a fairly large selection of containers on the market for growing tomatoes and other vegetables. Selling complete tomato planter kits is a very common marketing angle. Prices will range from $50 to $150 for a container and materials that will house two plants. The Earthbox is a popular but fairly pricy product. Tomato Success Kits from Gardener's Supply Company are another. One feature that all of these kits have in common is the self-watering reservoir. This is an important feature for easy gardening success, as it take away most of the complexity of either over or under watering. I considered the Earthbox this year but instead chose to use my old collection of reservoir pots that I’ve had for 10 years or so. There are also a number of do-it-yourself plans for making reservoir containers available online. These homemade containers can be made for $5 to $10. To keep the large plants from growing into a tangled mess, you’ll need wire cages. I’ll use them on the tomatoes and cucumber vines this year. You can buy wire cages at any garden center.
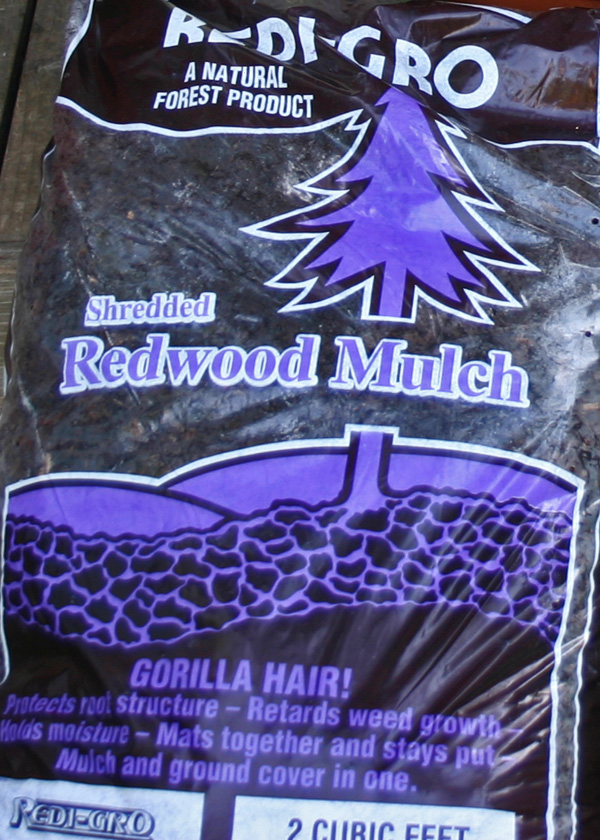
My New Trick: A Gorilla Hair Blanket?
One thing that I’ve noticed in many of the newer tomato kit products is a plastic cover to go over the container. The plants grow through a small slit in the plastic. It supposedly controls weeds and keeps in moisture and heat. I like this idea but I don’t want a plastic “trash bag” on the top of my pots. I got an idea of using a thick layer of redwood “gorilla hair” mulch on top of the soil to keep in moisture. Landscapers use it to mulch newly planted trees and shrubs. I talked to the master gardener at Summerwinds Nursery and he thought it was a good idea. The redwood mulch will also supply nutrients to the plant. Expanding on the gorilla hair thought, I decided to add a thin layer at the bottom of the soil, on the reservoir divider. When cleaning the pots at the end of the year, I’ve noticed that a fair amount of soil falls through the slots into the reservoir. My plants this year have a gorilla hair bed with a blanket on top. We’ll see how that works.
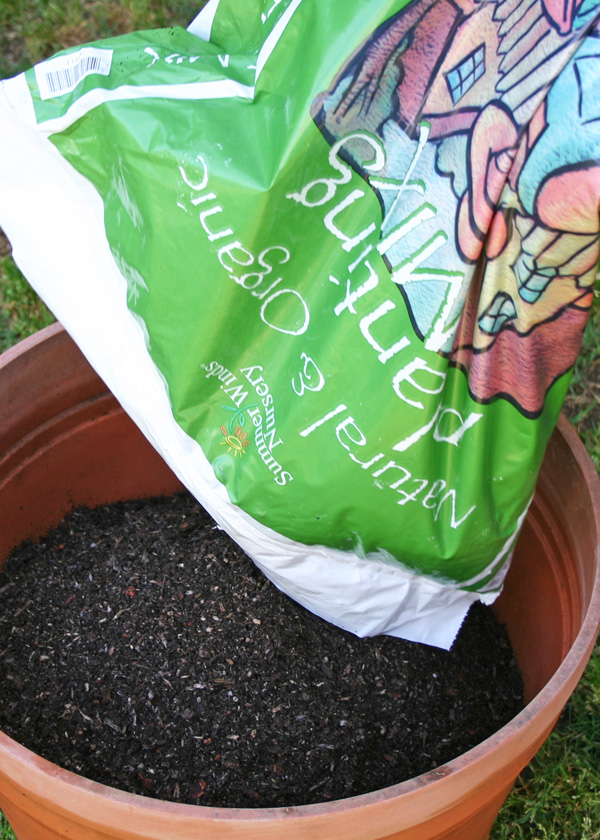
Planting Mix Instead of Potting Soil
The Earthbox instructions state that you should use planting or potting mix and not potting soil in their container. Searching online for an explanation of the difference was inconclusive. Apparently potting soil contains actual soil (dirt, sand, etc.) and tends to be heavier. It holds water longer and gets rock hard when dry. Planting mix is a lighter mix of organic materials that is ideal for containers and hanging baskets. It allows air to get to the roots, which is important for plant health. This year we are trying planting mix only.

Lime for the Tomatoes
While researching the latest tomato planter kits I also found that they usually provide dolomite, or agricultural lime. Dolomite is derived from natural occurring limestone and provides calcium and magnesium to the soil, increasing the pH and making it less acidic. These are important nutrients for plants. Calcium is used in plants to build cell walls and magnesium is essential for chlorophyll production. I mixed a handful of dolomite into the top half of each of the tomato containers this year.
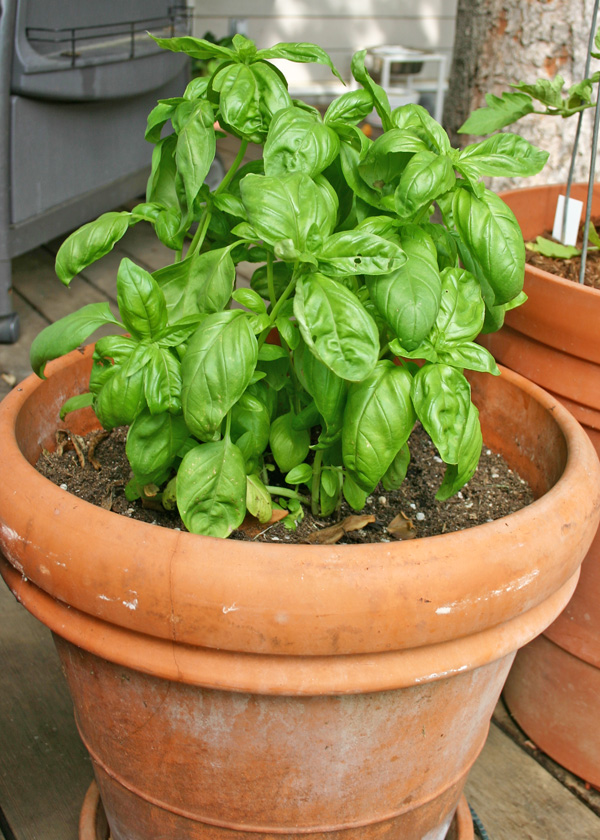
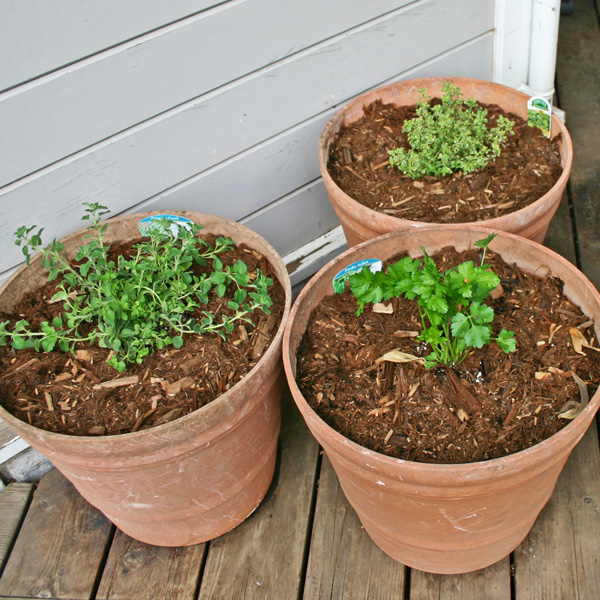
A Clay Pot for the Basil
For the past few years we have occasionally had issues with stem rot on our basil plants. When this happens the leaves of the plant shrivel up, the stem turns black and it dies. We have experimented with pot placement for different levels of direct sun but that didn’t seem to matter. My research this spring found that a likely cause for stem rot in basil is over-watering. We usually water all of the containers at the same time and the large tomato bushes can really drink the water. Basil likes to dry out between watering and also prefers a shadier location than tomatoes, so this year we planted the basil in a large clay pot that will dry out quicker than the reservoir pots. Using planting mix instead of potting soil could also help. We’ll also check the soil moisture before watering. Hopefully this will eliminate the issue.

Just Add Water and Watch Them Grow
The large basil plant has been in the pot for less than two weeks and it has already doubled in size. We harvested a small batch of basil leaves for a great Panzanella Salad that we enjoyed last weekend. The cherry tomato plant has little green tomatoes already. The other herbs are growing fast, so we’ll be enjoying them fresh for the next 4 to 6 months. The Roma tomatoes are flowering and should come in a couple months. It’s going to be a tasty summer!
2014 UPDATE: The clay pots have worked very well for the past 4 years, the basil has been very happy. We also found that our basil does better in mostly filtered sun with only 3-4 hours of direct afternoon sun. We've moved the tomato pots into a spot that gets 9-10 hours of direct sun and they are also doing much better.