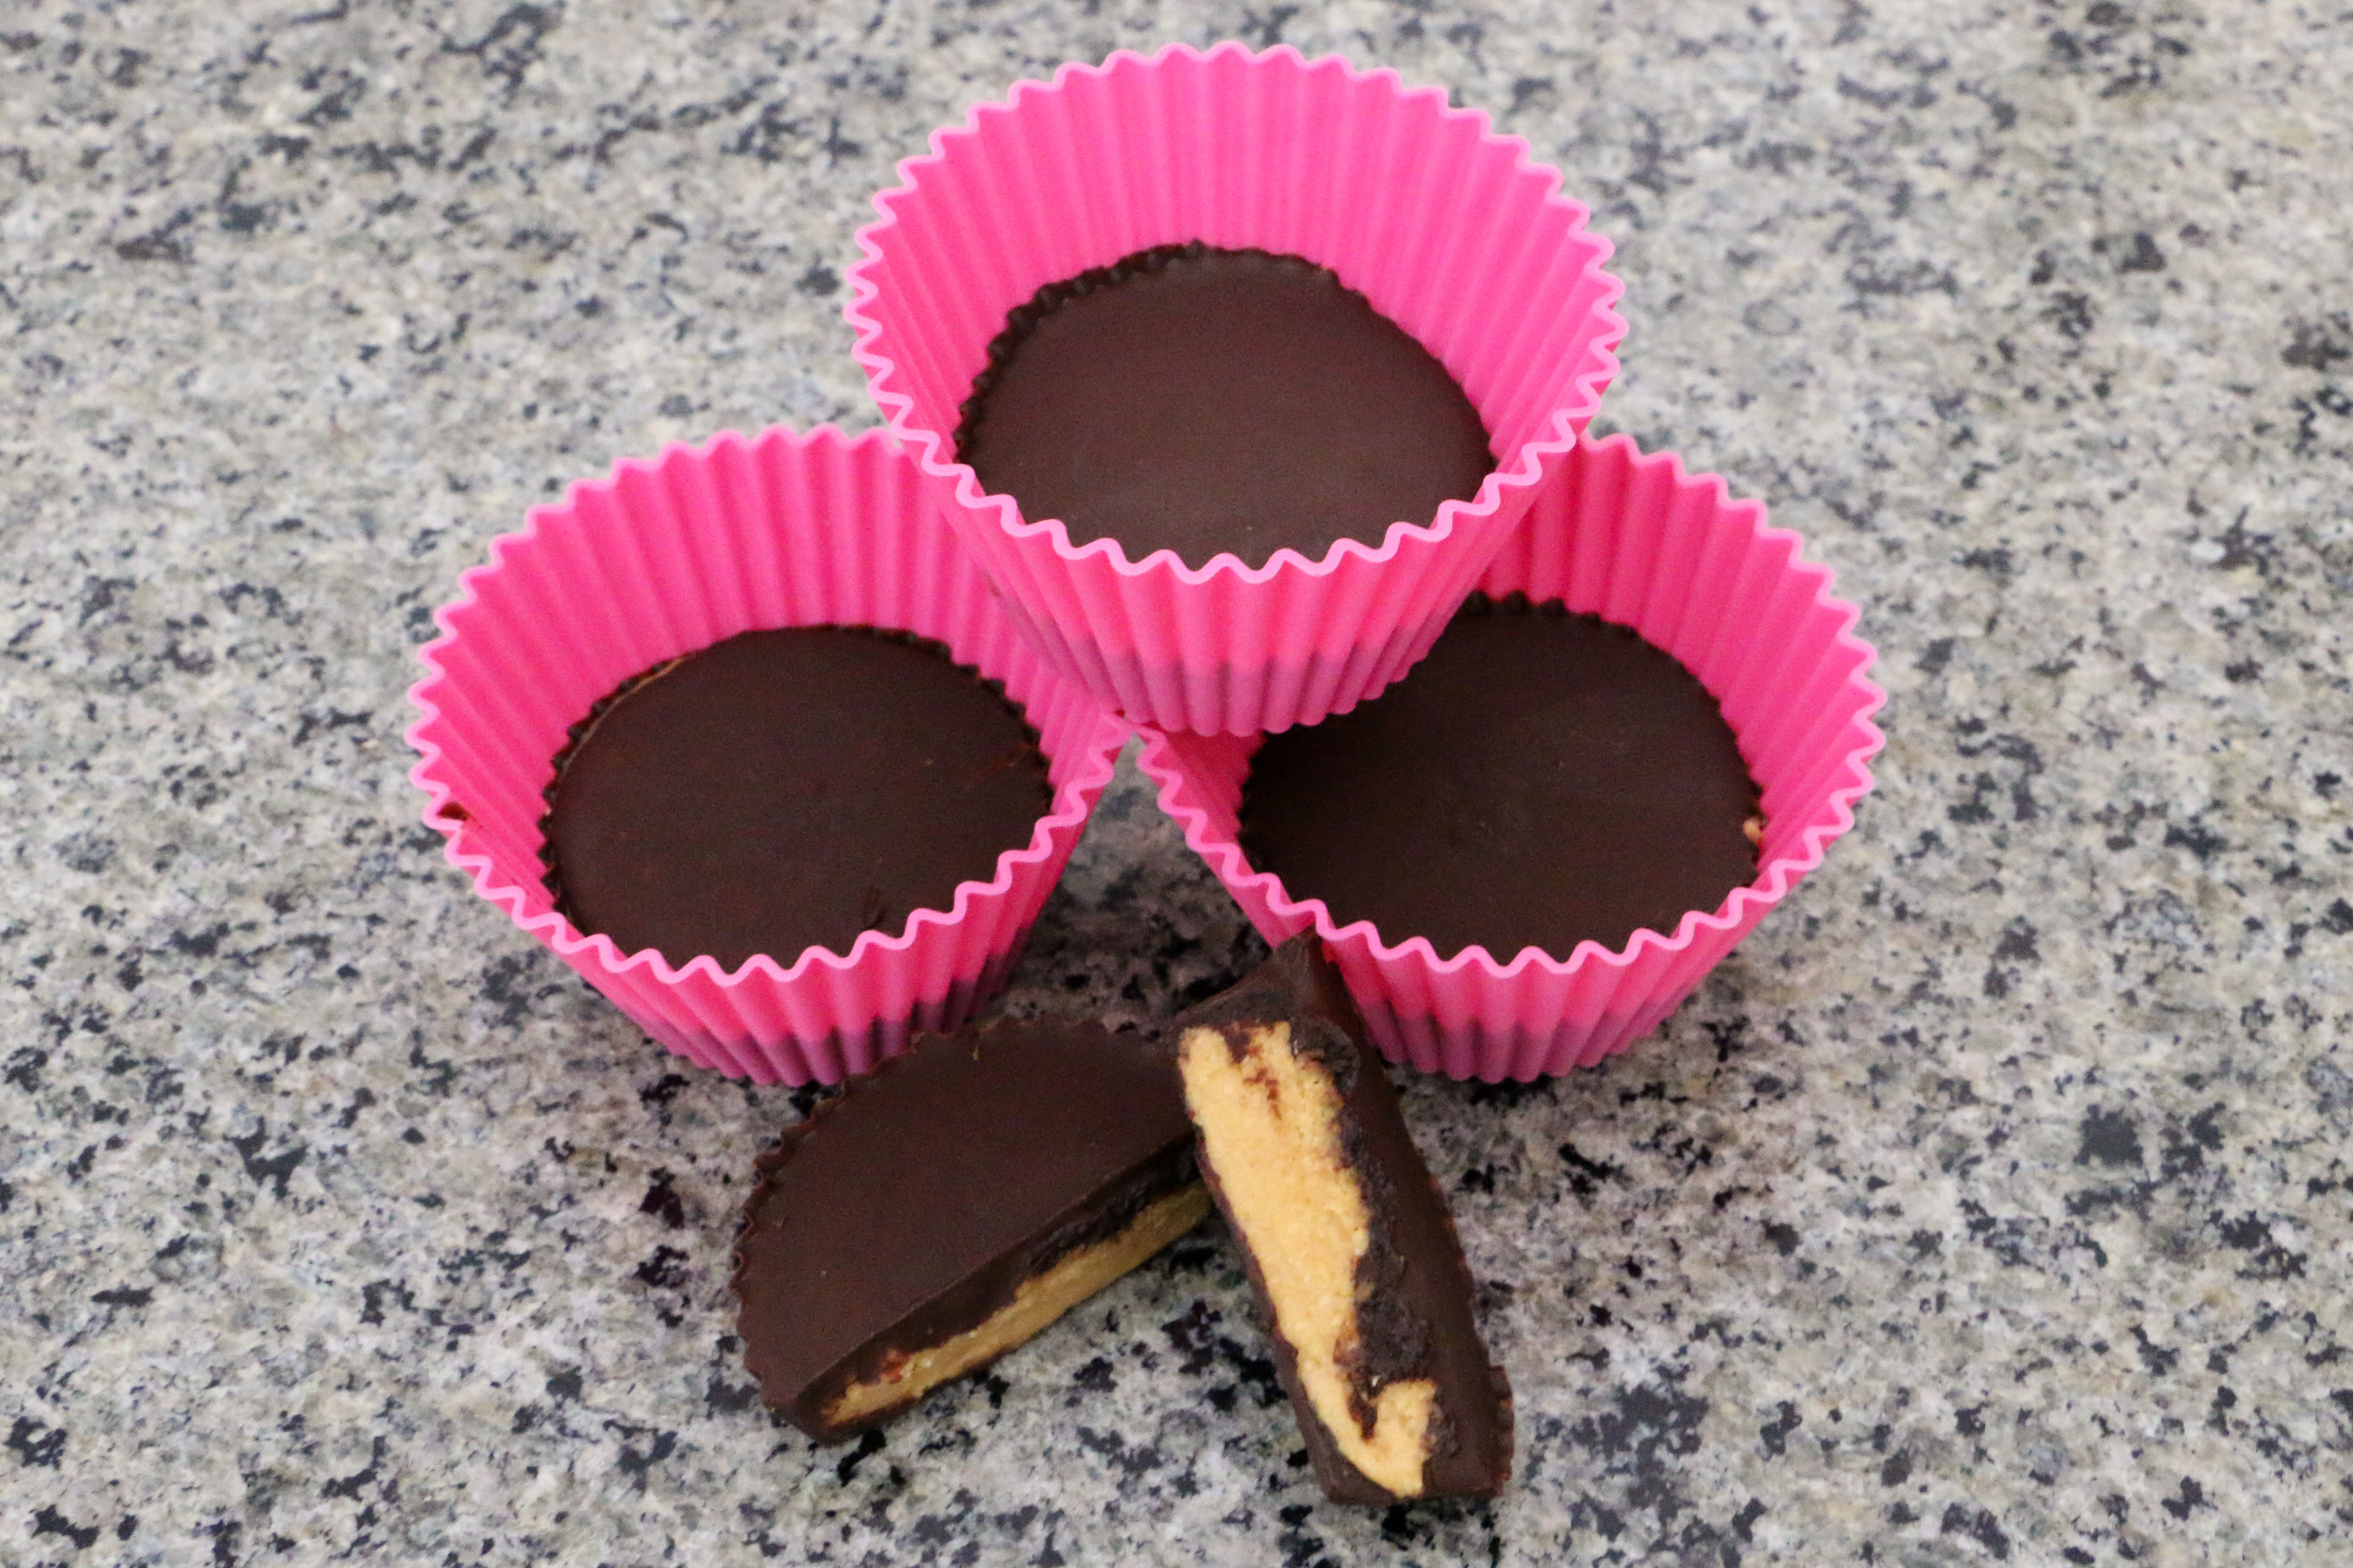
Chocolate Nut Butter Cups

These homemade nut butter cups are perfect for a midday snack or as a healthy dessert, and taste even better than the store bought kinds! So easy to make and customize to your own liking, you’ll never go back to the pre-made versions. Great for parties, post-workout treats, or really any time of the day, these delicious bites can be made completely ZERO WASTE without having to bend over backwards to ditch the packaging.


Chocolate Nut Butter Cups’ Environmental Benefits
By using Reusable Baking Cups, buying coconut oil and your preferred nut butter fresh in reusable jars, and the chocolate in bulk with Reusable Bulk Bin Bags, this recipe can be made completely ZERO WASTE
Buying pre-packaged snacks and candy creates a lot of waste that’ll end up in landfills and oceans, as products are often double or triple packaged for “convenience”, whereas DIY-ing the same snack at home makes packaging and single use items obsolete
Choosing fair trade and organic chocolate can help fight against climate change and deforestation, supports sustainable farming practices, as well as providing support for local farming communities

Chocolate Nut Butter Cups
Prep time: 10 minutes
Total time: 1 hourMakes 4 Nut Butter Cups


Ingredients:
- ¼ cup chocolate (chips or chopped pieces)
- ½ tsp Coconut Oil
- 4 Tbsp Nut Butter (see notes)
Instructions:
1. MELT: Melt the chocolate with the coconut oil by microwaving them in 15 second intervals, stirring after each round, until completely melted. When melted, the mixture should be runnier than typical melted chocolate.
2. FILL: While the chocolate mixture is still warm, spoon roughly 3 tsp of the mixture into a reusable baking cup. Tilt the cup onto its side and rotate to fully coat the bottom and up the sides about a ½ inch. Repeat with the other three cups, and place all 4 in the freezer to harden. After 5 minutes, take the cups out of the freezer and scoop in the nut butter of choice into the center of each cup, and tap the cups lightly on the counter to spread out the butter and remove any big air bubbles. Top off each cup with the remaining chocolate mixture (this may need a few seconds of reheating in the microwave), and again tap the filled cups on the counter to even out the surface. Place back into the freezer for at least 20 minutes for the chocolate shell to fully harden.
3. ENJOY: After they’ve sat in the freezer for a second time, these nut butter cups are ready to be eaten. Just peel back the baking cup and take a bite! Because they’ve been in the freezer, the chocolate will be solid while the nut butter inside it gooey and delicious.
Notes:
Allergen + Diet Friendly- While store-bought versions of this recipe are so readily available, they do contain allergen warnings for ingredients like peanuts, dairy, and soy. If you’re making this recipe at home, you can completely avoid any ingredients that could cause a reaction or interfere with your preferred diet. Switch out the peanut butter for almond or a non-nut butter (like sunflower butter or tahini), or choose a milk-free chocolate for dairy intolerance or a vegan diet. Change Up the Fillings- While smooth peanut butter is the classic choice, you can always add things in the filling so spice these up a bit! Add in some chopped nuts for an extra crunch, swirl in a chocolate spread for double chocolate, or throw in some salted caramel chews or crushed pretzels for a hidden surprise. Make Ahead- This recipe is so simple, but it is a bit time consuming to make, especially if you’re making just one cup. The solution? You can make a bunch of these cups ahead of time, and just leave them in your freezer until you get a craving for one. You could eat them straight out of the freezer, or we recommend putting them in the fridge for 30 minutes – 1 hour ahead of eating, this will allow the center to defrost a bit.

Did you make this recipe?
We love to see your pictures!
Tag @simple_ecology and hashtag it #simpleecology
© Simple Ecology