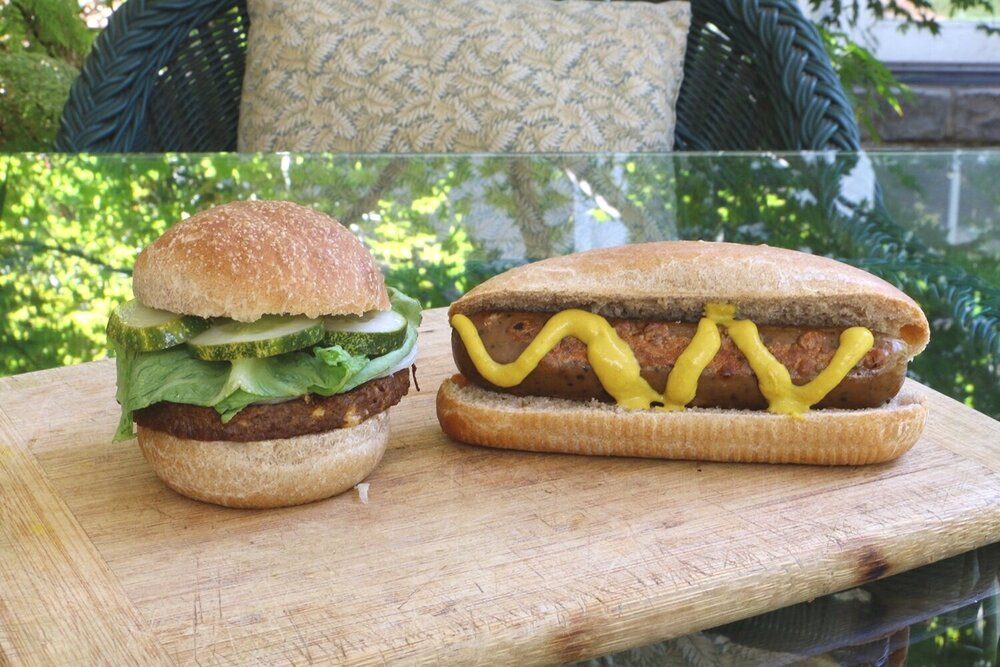
Homemade Hot Dog & Burger Buns

It’s finally grilling season, which means it’s the perfect time to try making your own Hot Dog and Burger Buns! Not only are these buns easy to make & delicious, they’re free of any preservatives and chemical additives that are often found in the store bought versions. Use these buns at a summer barbecue, as dinner rolls, toasted with Homemade Grapefruit Marmalade, or for lunchtime sandwiches with Almond Walnut Butter & Homemade Grape Jelly.

Homemade Hot Dog & Burger Buns’ Environmental Benefits
Buying pre-packaged and convenience food from fast food chains or grocery stores promotes the use of single use containers, utensils, napkins, and more that’ll end up in landfills and oceans, whereas making the same meal at home makes single use items obsolete
Homemade bread is wonderful (and delicious) low-waste potluck selection for outdoor barbecues and summertime gatherings
Sourdough starters are great for baking but create a lot of “discard”, this recipe utilizes that discard so that nothing goes to waste

Homemade Hot Dog & Burger Buns
Work Time: 25 Minutes
Raise Time: 1 Hour 45 Minutes
Bake Time: 20 Minutes
Total Time: 2 Hours 30 Minutes
Makes 9 Burger Buns or 8 Hot Dog Buns

Ingredients:
- 1 1/4 cup (300 ml) lukewarm Water
- 2 ¼ tsp (1 packet) Instant Yeast (see notes)
- 1 cup (120g) Whole Wheat or Rye Flour (see notes)
- 1 ½ -2 cups (180g – 240g) All-Purpose Flour
- 1 ½ tsp Salt
- 2 Tbsp Canola / Olive Oil
Optional:
- ¼ cup (60g) Sourdough Discard (see notes)
- 1 Tbsp Canola / Olive Oil
Instructions:
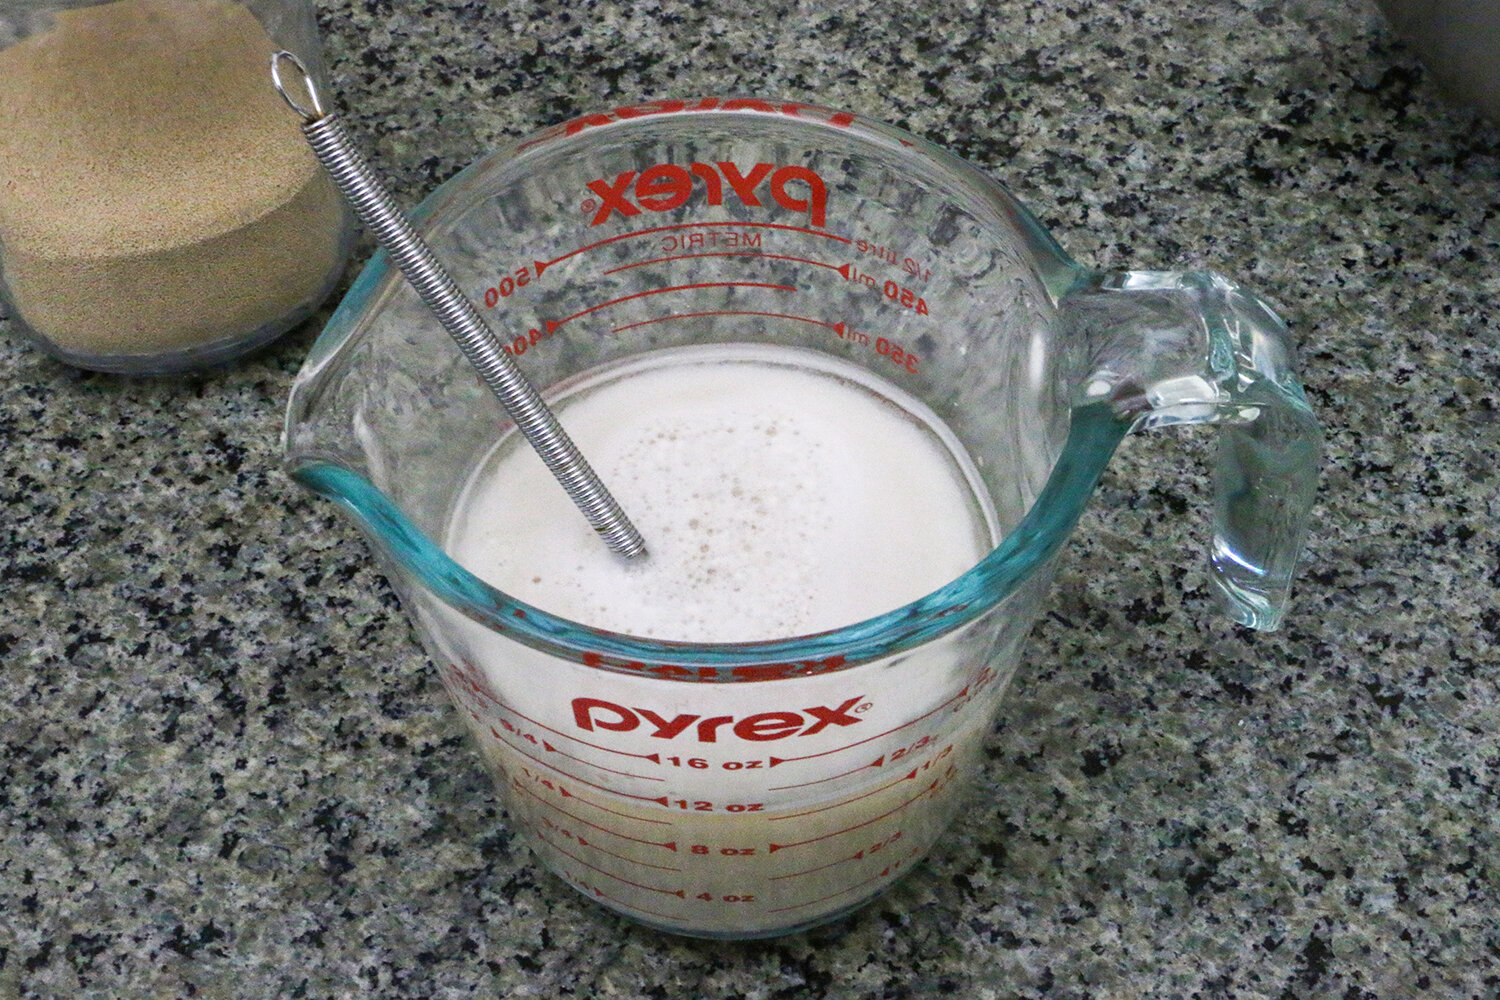
1. YEAST: Heat the water until it’s lukewarm to the touch, about 110°F (43°C), and stir in the yeast. Allow the mixture to sit for several minutes or until foamy bubbles begin to form on top. This ensures that the yeast is active and will raise properly.
2. MIX: Place the whole wheat or rye flour, 1 ½ cups of all-purpose flour, and salt into the bowl of a stand mixer or a large bowl if mixing by hand. Add in the foamy yeast & water mixture, along with any sourdough discard you may be adding. With a dough hook, mix for 5 minutes or until everything comes together and the dough begins to pull away from the sides of the bowl cleanly. If your dough is too wet and sticky, add in more flour little by little until the dough is smooth and only slightly tacky. Let the dough rest for 5 minutes to allow the flour to fully hydrate.
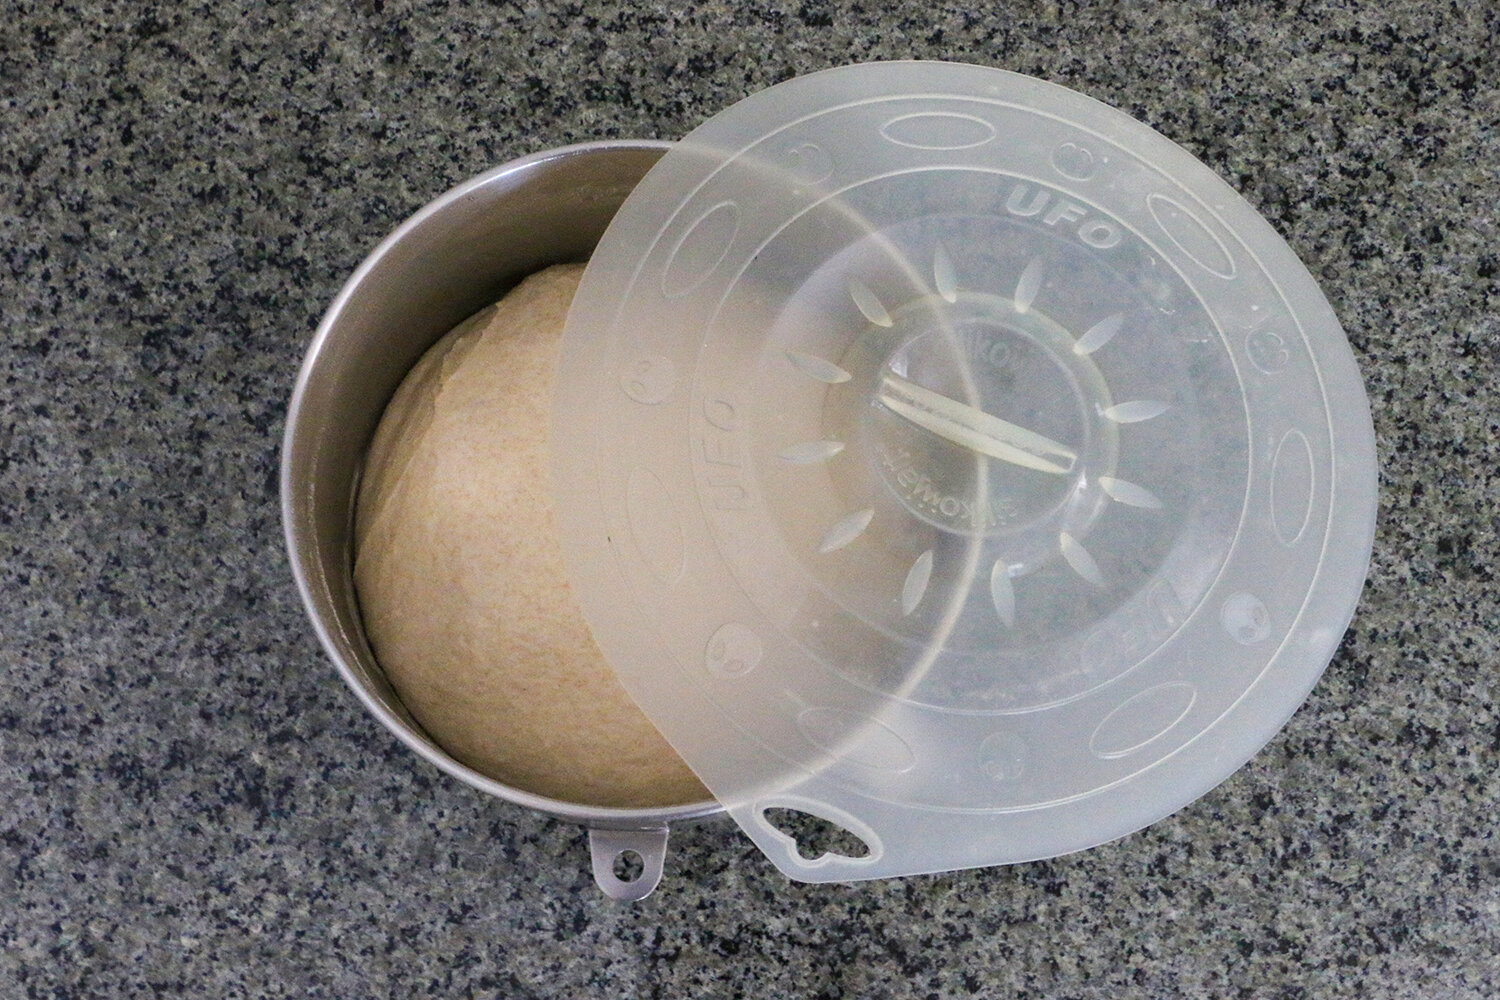
3. PROOF: After resting, add in the oil slowly while mixing. The dough may separate a bit, but keep mixing until all the oil is incorporated and the dough is smooth. Cover the bowl with a Reusable Silicone Lid or with a damp tea towel, and allow the dough to rise in a warm area for 1 hour or until doubled in size (this may take longer or shorter depending on the temperature, just be sure to check it every so often).
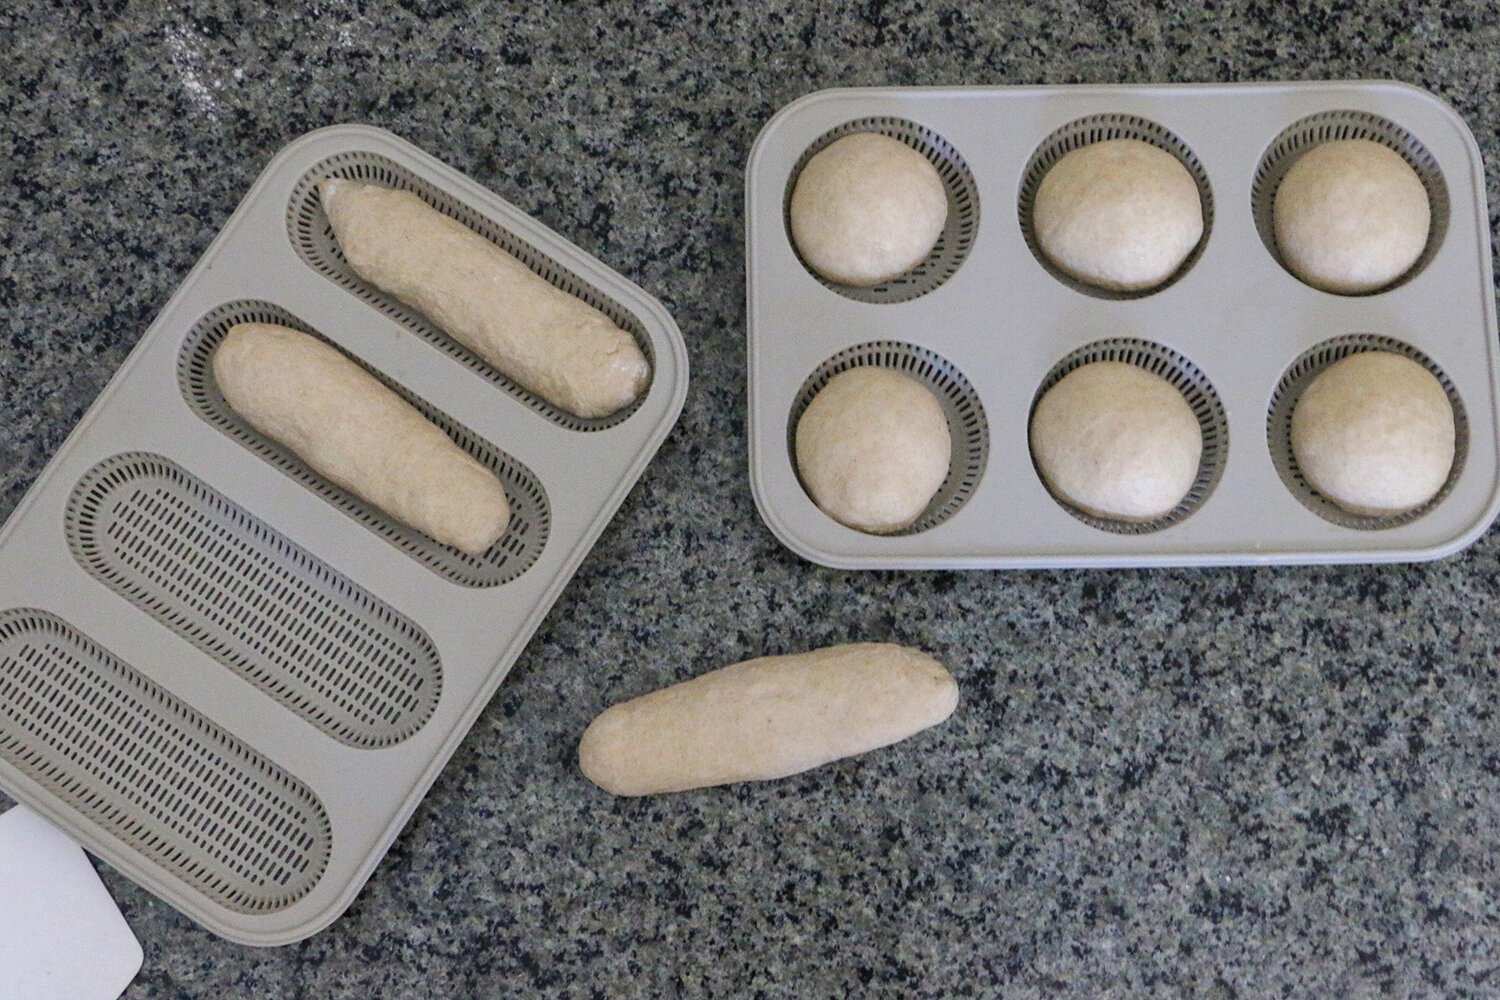
4. SHAPE: Once the dough has doubled in size, gently scrape it out from the bowl onto a lightly floured work surface. For Burger Buns, divide the dough into 90g pieces (or into 9 equal pieces) and roll them into tight balls. For Hot Dog Buns, divide the dough into 110g pieces (or 8 equal pieces), roll them into balls, then roll each ball into 6½ inch logs. Place the shaped dough into the Reusable Silicone Bread Molds, or onto a Reusable Silicone Baking Mat (see notes). Place a damp tea towel over the rolls and allow them to proof again for another 45 minutes or until visibly puffy but not quite doubled in size.
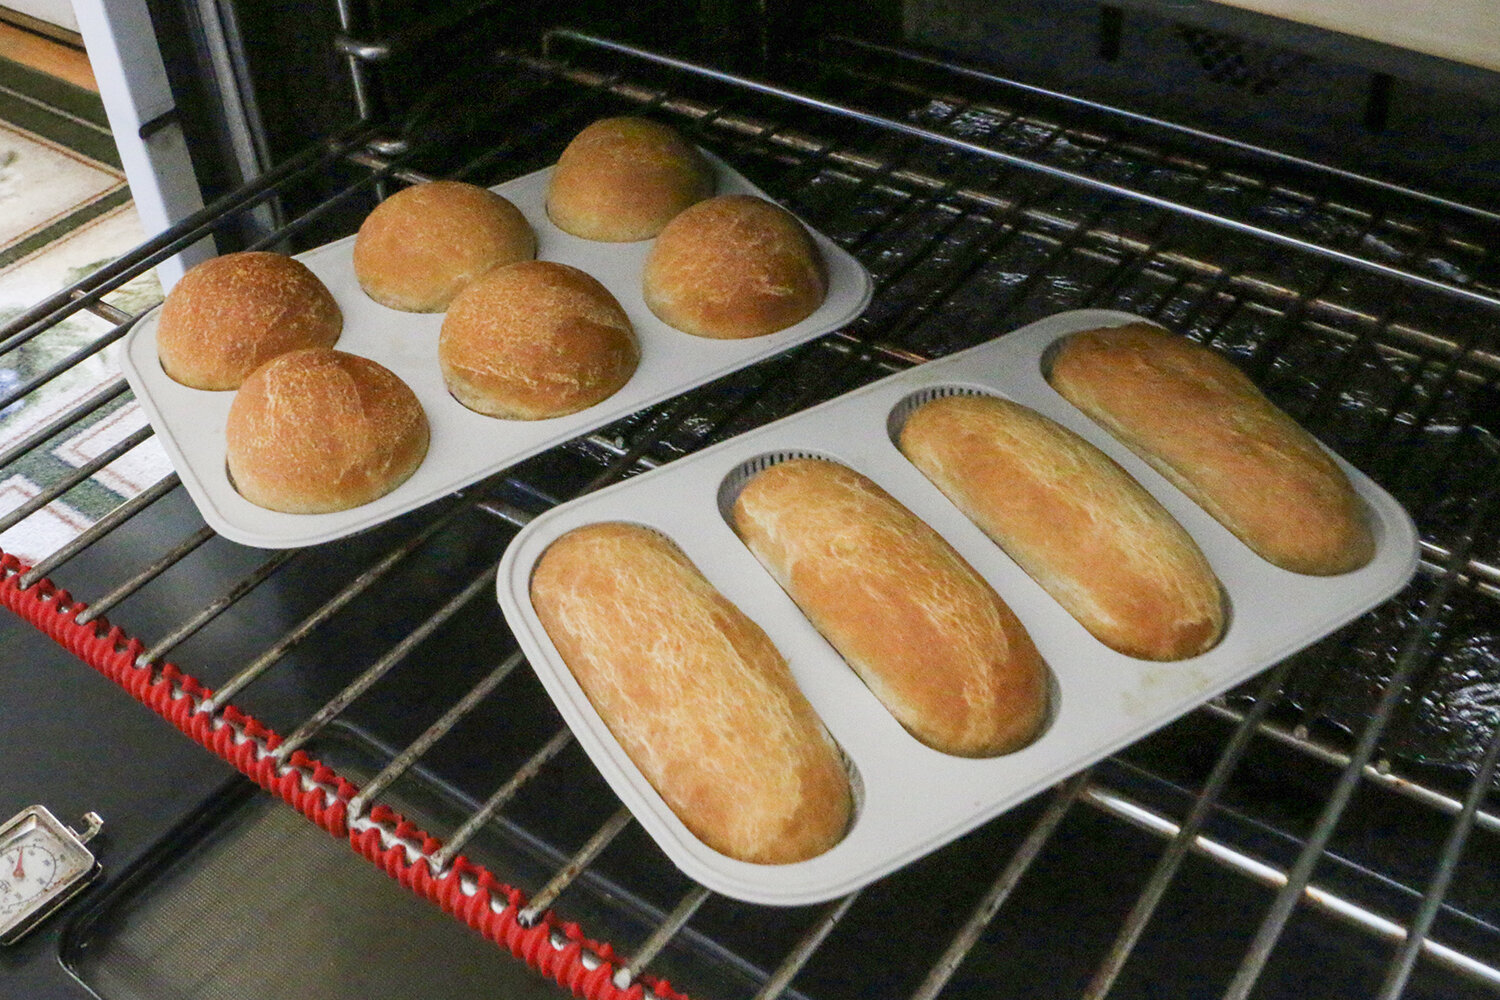
5. BAKE: Towards the end of proofing time, preheat the oven to 375°F (190°C). Remove the towel (if the towel sticks, spray it down with a squirt bottle of water, and it should release easily) and brush the tops of each bun with additional oil for extra browning. Place the buns in the oven and bake for 20-25 minutes for Burger Buns or 18-23 minutes for Hot Dog Buns. When finished, the buns should be golden brown on top with the internal temperature reading 190°F (88°C) on an instant thermometer. Place the buns and mold on a cooling rack, and allow to cool fully. Best enjoyed fresh, these will keep at room temperature for a week when wrapped in a Wax Wrap or up to 6 months in the freezer.
Notes:
Weight vs Volume – Most bread bakers will tell you to weigh out your ingredients rather than measuring by volume, as it’s far more precise and will lead to a more uniform outcome. We’ve included both the weight and volume measurements for this recipe, so feel free to use which ever you’re most comfortable with. Instant vs Active Dry Yeast – This recipe calls for instant yeast, but feel free to use active dry yeast if that’s what you have. Just note that active dry yeast takes longer to raise than instant yeast, so add on some time when proofing the dough and check to make sure everything’s raising properly. Flour Blend – Using a blend of flours adds a lot of flavor and nutrients to homemade breads while still maintaining a good structure. You can use whole wheat or rye flour alongside all-purpose flour for added flavor, or substitute it all for all-purpose if you prefer. Using Sourdough Discard – Sourdough starters have to be maintained and fed pretty frequently, meaning it also creates a lot of “discard” that often goes to waste. This recipe is perfect for using up that discard, just add it in with the rest of your ingredients and mix. As the discard will add in extra moisture to the dough, just add in some extra flour if the dough seems too wet. Bun Sizes – The weights & sizes of these rolls are designed to fit into our Reusable Silicone Bread Molds. If you’re making these without the molds, feel free to make them however big or small that you would like. Just note that the baking times will change, so keep an eye on their color & internal temperature to ensure that they fully bake.

Did you make this recipe?
We love to see your pictures!
Tag @simple_ecology and hashtag it #simpleecology
© Simple Ecology