
5 Ways to Repurpose Your Food Waste
The holidays are here, and while that means a time filled with cooking for friends and family, it also means that more food will be going to waste. There are tons of ways you can reduce your overall food waste, such as planning your meals, properly storing foods, and preserving ingredients by dehydrating, drying, freezing, or pickling. We have a whole article about how to reduce food waste at home for even more ideas and beginner tips.
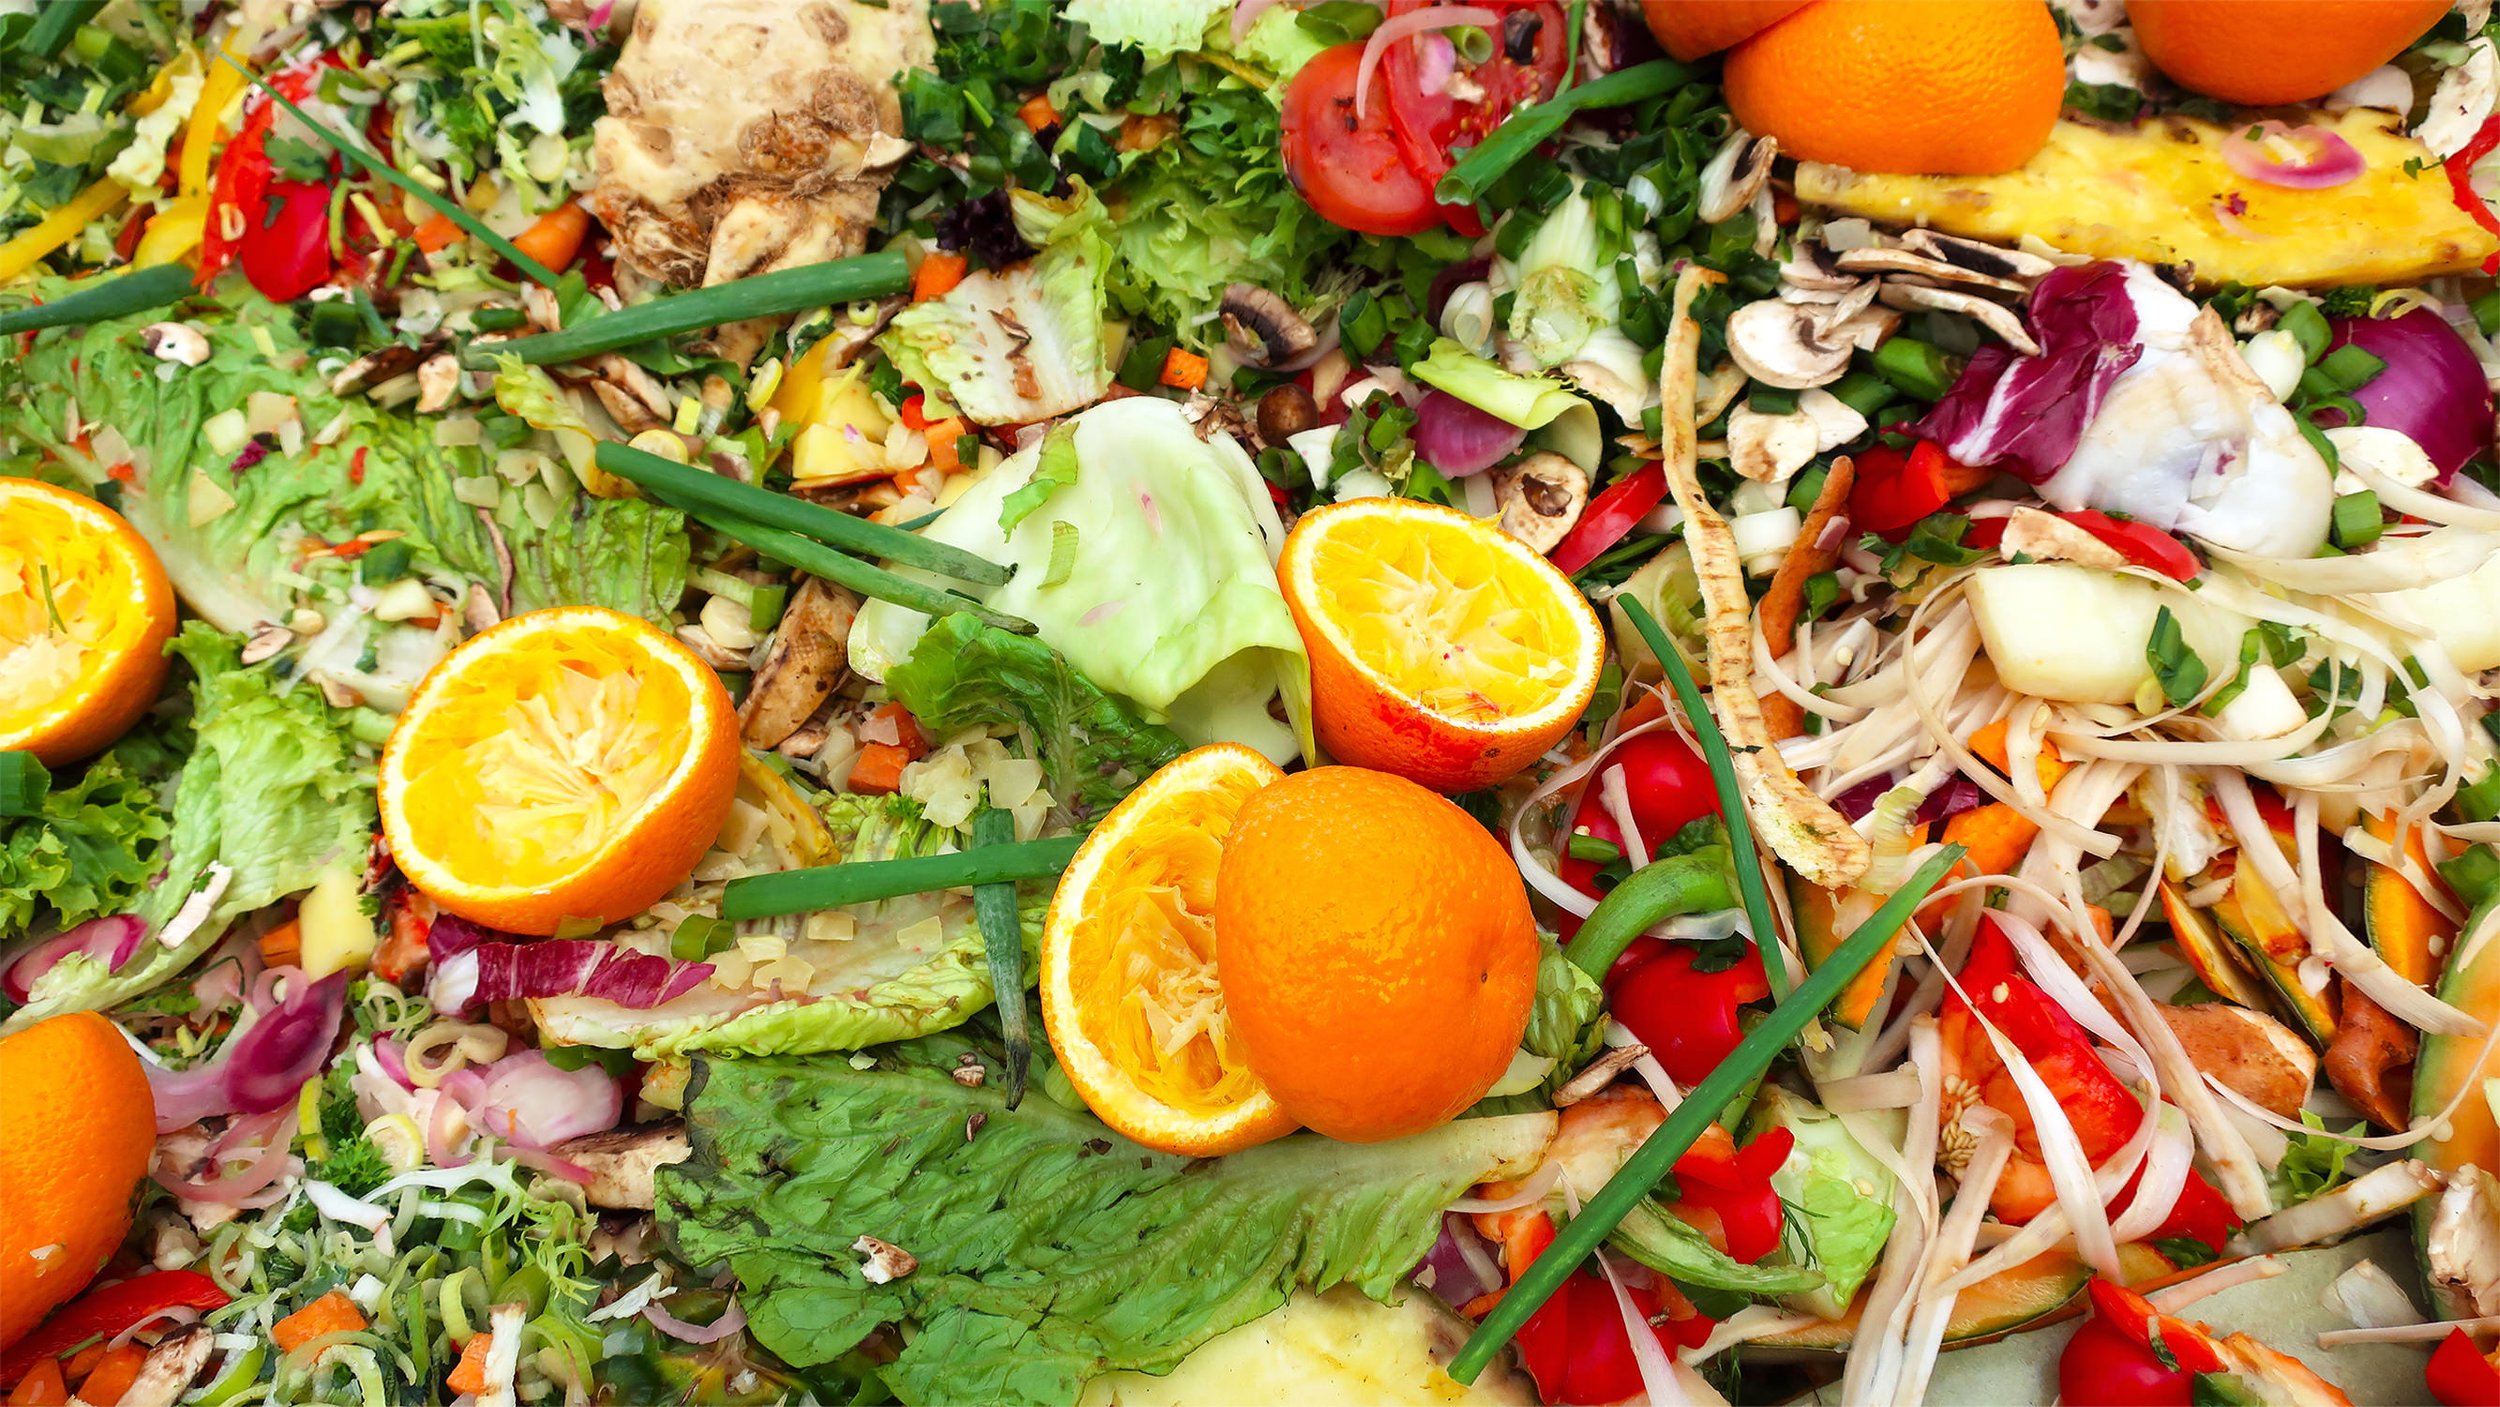
While a lot of food waste is avoidable, there are always going to be components that can’t be eaten, such as onion skins, banana peels, and coffee grounds. To combat the inevitable food that does go to waste, here are some easy tip for ways to repurpose and make the most of your organic materials.
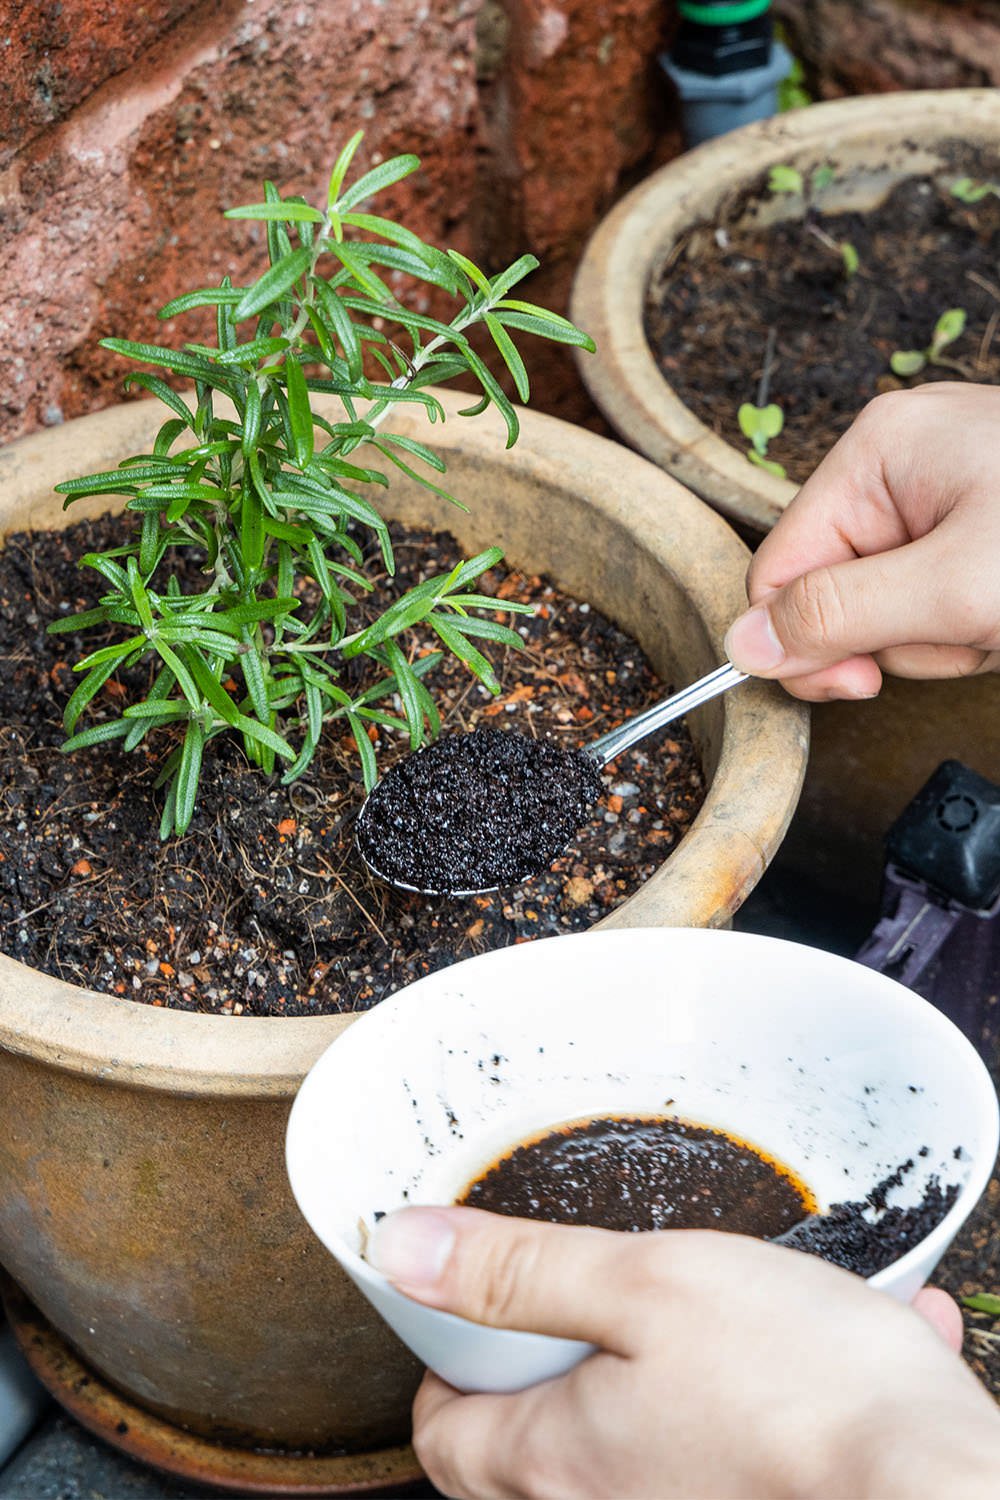
Save Coffee Grounds for Plants
Adding coffee grounds to your indoor and outdoor plants is a great way to give them an added boost of nutrition. The grounds are high in nitrogen, as well as providing potassium, phosphorus, and other key nutrients to the soil. Simply sprinkle the leftover (and cooled) grounds around the base of your plant, then water as normal. If you’re repotting a plant, the coffee grounds can be mixed in with the soil for a fortified potting mix.
While the coffee grounds can offer great nutrients for plants, they can also be quite acidic. A lot of the acidity from the beans is transferred into the brewed coffee, but there is still some left behind in the grounds. Some plants are particularly sensitive to acid, such as lavender, orchids, and tomatoes, so check online or at your local nursery for whether or not the plant can handle the pH shift. Other plant varieties thrive in acidic soil, such as hydrangeas, squashes, turnips, and berries, so save the grounds for the plants that need them most.
For those without a green thumb or a growing collection of plant-pets, here’s a great list of other ways to reuse coffee grounds! Make them into body scrubs, flavorful marinades, as natural insect repellants, and more.

Regrowing Food Scraps
When left unattended for too long, some root-based vegetables such as potatoes, ginger, and garlic will begin sprouting roots and shoots on their own. Rather than throwing out the entire sprouting veg, save them and try regrowing the plant! Cut off the sprouting end of your potatoes and ginger, and allow the cut side to dry out for a few days. Once sealed over, bury your sprout into potting soil and move to a sunny location. After a few months, you should have a bustling crop ready to be pulled up! Sprouting garlic can be left whole and buried, and the green shoots can be harvested and used in place of green onions in recipes or as a garnish.
Other vegetables, such as lettuce and green onions, can be regrown from the base of the plant. Place the base in a shallow bowl or cup of water, leave it in a sunny location, and watch as it begins to regrow after a few days. Green onions can be replanted in the garden to grow more shots, and the lettuce can be harvested right from your kitchen counter.
For more gardening tips, check out our article all about Starting a Zero-Waste Garden. It’s the perfect way to start gardening on a budget, and can be done in any space available!

Homemade Broths & Soups
One of the best parts of winter is getting cozy with a warm bowl of soup, so why not amp up the flavor with homemade stock! Making your own stock at home is easy, cheap, and a great way to use up food scraps that would otherwise be thrown away. Even better, by making it yourself, you can customize it to personalize it to your personal taste, dietary restrictions, or specific cooking application, and can be used in anything from soups and stews, to grains and pasta for extra flavor.
When cooking, you can save scraps from vegetables and herbs to turn it into delicious broth. Onion & garlic skins, carrot peels, cabbage cores, broccoli stems, mushroom ends, herb stems, and practically anything else can be put into the stock. Collect these veggies and store them in the freezer until you’re ready to make broth, then just add water and simmer. Check out our full recipe for Homemade Vegetable Broth for more instructions and veggie suggestions.
For the meat lovers out there, the same process can be used to make a delicious and flavorful broth for seafood, pork, chicken, or beef. Save the bones, shells, and less desirable cuts of meat (like wing tips, necks, & hooves) in the freezer, and add it to a pot of water on the stove, along with some veggie scraps for a well-rounded flavor. Then just skim the top of the broth to remove any impurities, and strain the rest to remove the bones and veggie bits.
In addition to veggies and bones, cheese rinds can also be saved for a salty addition to soups, stews, and marinades. Save the rinds of hard cheeses like parmesan or pecorino in the freezer, and toss them into the stock of your final recipe. Just be sure to fish them out before eating! This will impart a pleasant salty & cheesy flavor to your cooking, without leaving the typical sticky mess of fresh melted cheese that’s hard to clean up.

Natural Fruit & Vegetable Dyes
Even if you’re less into cooking and more into crafting, those fruit and veggie scraps are still worth saving! Natural dyes can be made from the leftover skins and scraps of tons of foods, and are a great way to jazz up fabrics, yarns, or old clothing. And if you find yourself with a forgotten bag of slimy spinach or tub of past-their-prime berries, they don’t have to end up in the trash. Mash em up and boil them down to make your own plant-based natural dyes. Here’s a simple rundown of the dyeing process from The Green Hub for how to make your own dye at home.
When dying fibers, especially with natural and homemade dyes, it’s important to look at the content of the fibers you’re coloring before plunging them into a dyebath. Natural fibers like cotton, wool, linen, and silk are easiest to color with natural dyes, but may need the help of a fixative (like salt or vinegar) to help the pigments stick longer. Synthetic materials really do not work well with natural dyes, as they’re essentially plastic and the pigment will mostly slide right off. So before starting, take a look at the fiber content of your yarn or fabrics to make sure everything will go according to plan.
While the dye colors produced from some foods are easy to figure out, like brown from coffee grounds or red from beetroot, others can yield a much more surprising outcome. For example, the green leafy tops from carrots can be used to make a bright yellow-green dye, and the peels and pits from avocados can produce a muted pink. Here are some basic dye colors and the food waste that can be used to create them. And don’t be afraid to experiment and mix dyes and veggies to see what colors and combinations you can create.

Natural Fruit & Veggie Dye Colors
Pink - Avocado Pits & Peels, Hibiscus Leaves, Red Onion Skins
Red - Beetroot, Raspberries
Yellow - Yellow Onion Skins, Lemon Peels
Green - Carrot Tops, Artichoke Leaves, Spinach
Blue - Blueberries, Concord Grape Skins
Purple - Red Cabbage
Brown - Coffee Grounds, Tea leaves

Compost, Compost, Compost
Composting is an incredibly beneficial way to make the most of food waste, not only for you, but also for the environment. It will help reduce the greenhouse and methane gas emissions created through anaerobic decomposition that typically occurs when organic matter is put in a landfill. It will also help boost the health of the soil it’s added to, and can make a huge difference when added to indoor plants, herb patches, and vegetable gardens.
Although composting is the go-to answer for the growing issue of food waste now-a-days, it should really be seen as the last resort. You don’t buy produce with the intention of throwing it away, so the food waste you do produce should be viewed in the same manner. Think about ways that it can be used and reused before heading to the compost bin for worm food. In many cases, such as with the vegetable broth and natural dyes listed above, the leftover scraps can still be composted once the flavors and colors have been extracted.
If you’re interested in learning how to start your own compost system at home, check out our article all about the basics of composting!