Don't Rip the Plants Out Yet: How to Make the Most of Your Summer Garden
With September coming to an end, the sunny summer growing season is winding down for most of the US and across the northern hemisphere. For most, this means it’s time to start ripping out the spent tomato vines, sunflowers stalks, and zucchini bushes that wouldn’t survive the cooling and rainy weathers of fall and winter. But after all the time and effort put into bringing your summer garden to life, doesn’t it seem like a waste just to uproot everything and dispose of it in the yard waste bin?
Even though they might not produce all the magnificent fruit, vegetables, and herbs that they did weeks ago, there’s still so much that can be done with your garden to make the most out of the time (and money) spent. And with a new batch of hearty fall and winter time crops coming in, there’s still so much that can be utilized to help your garden grow, even in the down season! Here are some easy, zero-waste, and budget-friendly tips for tearing out and replanting your garden for fall and winter.


Let Them Bloom
For many herbs and vegetables, the process of flowering is not the ideally sought-after state for the home gardeners. After a plant is healthily established and growing, it begins to divert energy away from leaf and fruit production and more towards rapid height and blossom creation before the natural end of life. This is inevitable for almost any type of plant, as pollen and seeds are their means of reproduction, and are able to be spread to other plants with the help of bees and other pollinators.
While it’s all a part of the circle of life, this state is less ideal for gardeners and farmers, who rely on those leaves and fruits that the plants provide. This process is known by a number of terms, including “going to seed”, “bolting”, or “running”, with many growers and bloggers providing tips to prevent your garden from bolting. One common method is to simply clip off the tips and stalks that are going to seed, essentially redirecting the plants energy from creating flowers back into growing leaves and edible parts.
As your plants begin to die back and go to seed with the changing weather, one of the best things that you can do is let them go! It may seem a bit counterintuitive to allow your herbs and plants to become less useful to you, the trade off is that they become significantly more useful to the bees and pollinators that rely on them. As more flowers bloom, more of these powerful little pollinators show up to collect their food from the plants, spreading the pollen as they visit other gardens and preparing new plants for the next season of growth. Even just one seeded plant can help attract new bees to your garden, which will help boost the health of the surrounding garden and environment!
And once the plants go to seed, there’ll be a plethora of readily accessible and free seeds to be collected and saved for the next year.
Harvesting Seeds
Collecting seeds at the end of the season is one of the best ways to prepare for next year’s garden, and one of the easiest! You can save the seeds from just about any plant, like most flowers, fruit, vegetables, and herbs.

While you can find specialized instructions for harvesting almost any variety of seed, they all rely on a basic method that should work for almost any plant.
Cut off the flowering end of any herb or flower plants, or the fruit of a fruit or vegetable plant.
For flowering plants, place the whole flower on some newspaper, a baking sheet, or a clean (& repurposed) plastic container. For fruits & vegetables, cut open the produce and remove the seeds. Rinse off any excess food residue, pat the seeds dry with a towel, and place on some newspaper, a baking sheet, or a clean (& repurposed) plastic container.
Place the seeds in a warm & sunny location and allow them to dry fully, this may take anywhere from 2 days to a full week. We’d recommend placing them in a windowsill with lots of sun if possible. If placing the seeds outside, be cautious of strong wind gusts that might blow the seeds away, or hungry birds who will snack on the seeds and remaining plants.
Be sure that the seeds have fully dried before storing to prevent mold or rotting. Remove any remaining plant stems from the seeds, as well as removing the husks or shells from varieties like sunflowers or beans. Move the seeds into your vessel of choice, this can be anything from paper seed envelopes to small jars, or even repurposed plastic sauce containers from takeout meals. Always label the seeds with the variety and date to avoid confusion next season. Store the seeds in a box, cabinet, or dark area until they’re ready to be planted again.

Collecting and planting specific seeds is also a great, small-scale way to try your hand at selectively breeding crops. If one tomato plant held up to the heat much better than others, save those for the next year for a more tolerant plant. Likewise, if a pepper plant struggled to produce during the season, best to skip the seeds from that one. Using this method likely isn’t going to give you super fruits and veggies within a year or two, but overtime can help your garden thrive by choosing the plants best suited for your specific environment and needs.
When purchasing seeds or starters from a shop, be sure to note which are and aren’t hybrid species. While this genetic modification can help a lot with creating heartiness, better growth, and more flavorful fruit, it can create some problems for hybrid seeds. Some hybrid crops produce seeds that aren’t able to germinate on their own or will grow into non-fruit bearing plants, such as avocados. Other hybrid plants can still reproduce, like many tomato varieties, but they’ll actually revert back to one of the parent species, leaving you with a mystery seed for the next year.
Homemade Vegetable Broth
One of the most underrated secret ingredients you can use to elevate your cooking is to add in a rich, flavorful broth. From soups to grains and sauces, a good vegetable broth will add a ridiculous amount of flavor to almost any dish, and give it a luxurious restaurant-quality taste. Even better, vegetable broth can easily be made from food scraps that you’re already throwing away!
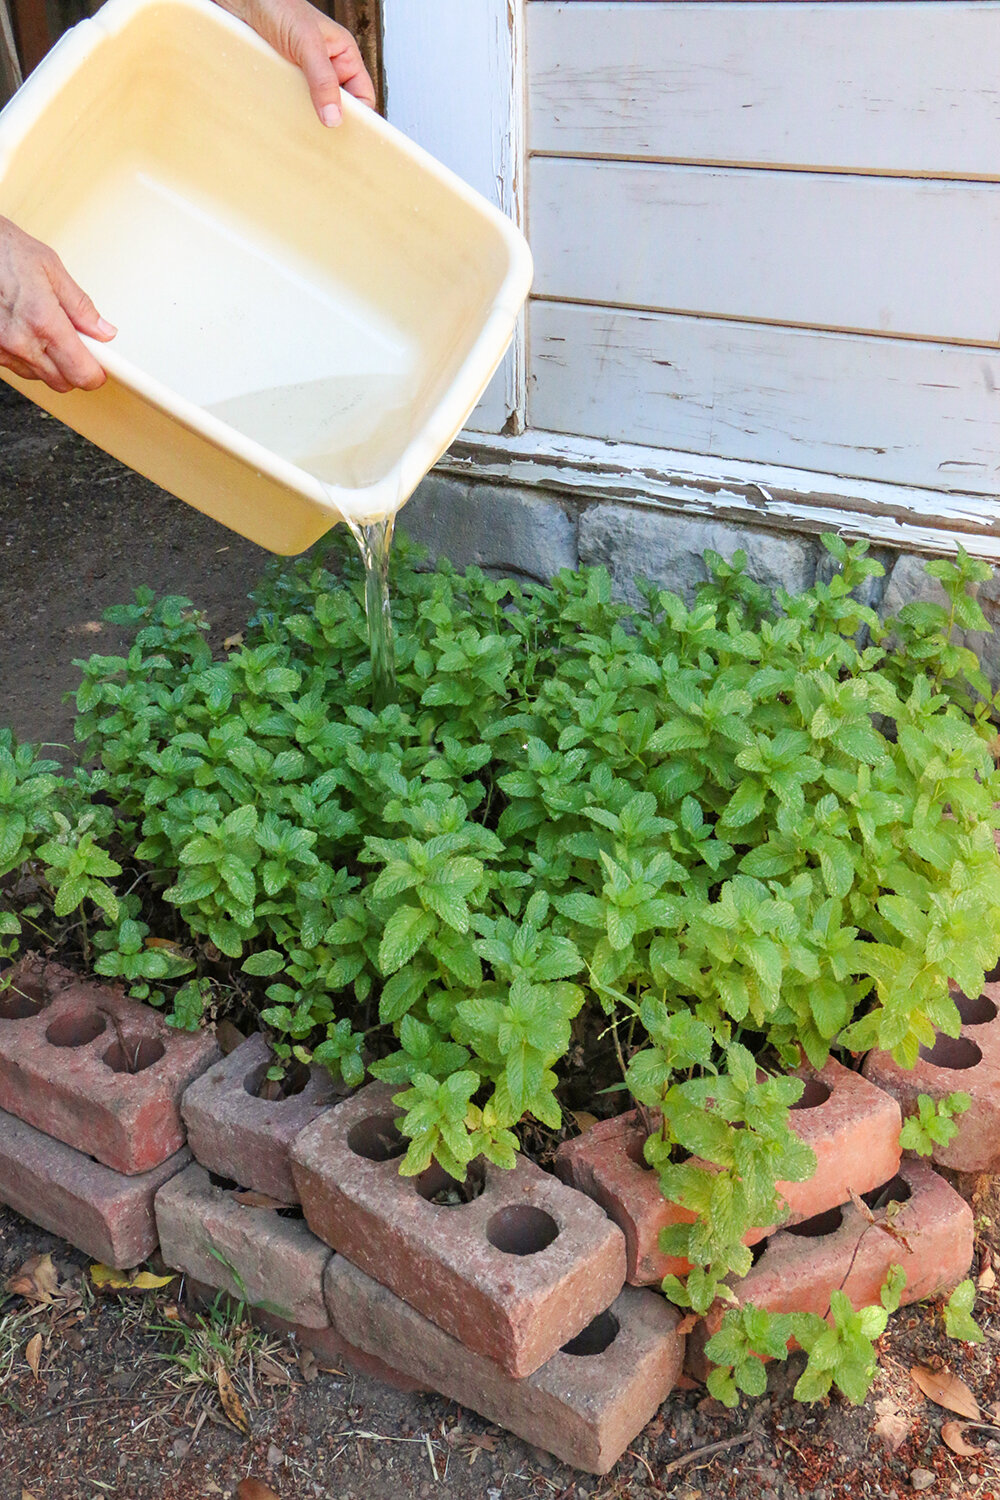
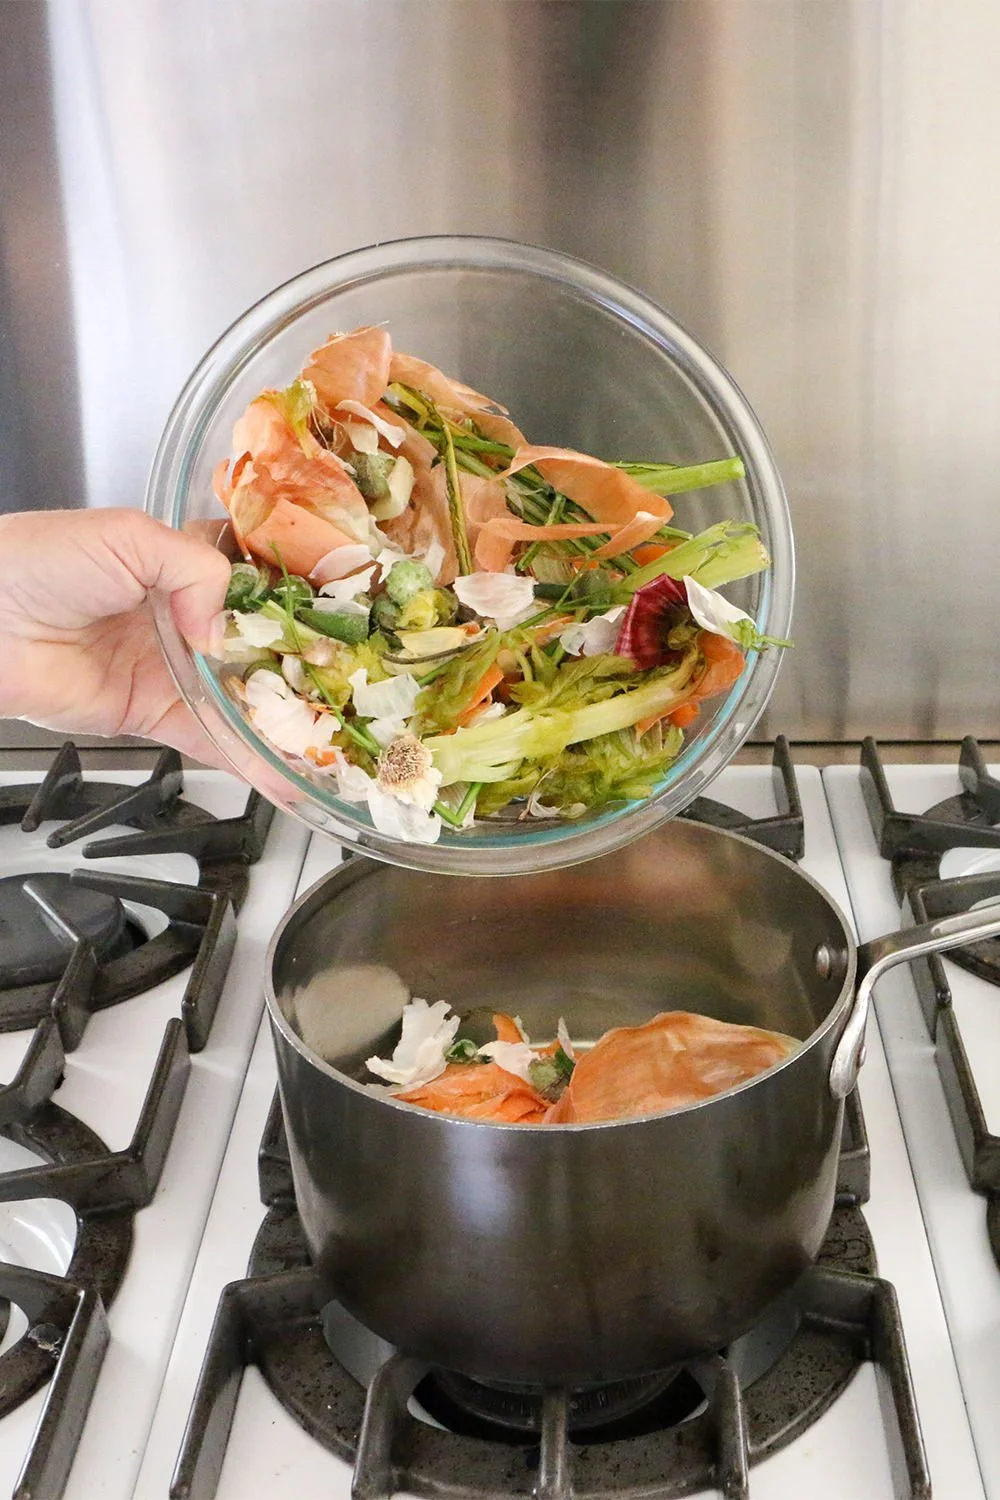
To make your own vegetable broth, simply collect the cut ends, outer skins, peels, stems, and bits from the vegetables and herbs that you use throughout the week. Then just add them to a pot with an equal amount of water, simmer for an hour, and drain. The strained out solids can be added to your home compost pile, while the stock can be stored in the fridge for up to a week or freezer for 6 months. For the full recipe, check out our page for Zero-Waste Vegetable Broth.
When clearing out your garden, be sure to save the herbs branches or vegetable stems from the torn out plants, and put them to good use in vegetable stock. Herbs like rosemary, oregano, basil, and thyme are perfect additions to vegetable stock, along with the tops of plants like onions and garlic, and even stems from tomato plants! Be sure to rinse everything off before simmering with the rest of your stock, and enjoy all the wonderful flavor that the herbs and plants will add to the already flavorful stock. If a meat or seafood stock is more to your preference, don’t be afraid to add in these same herbs and vegetable pieces as well for extra flavor. Just be sure to use complimentary flavors for whatever broth you’re making!

Mulch & More
After your plants have bolted and their seeds have been collected, the next part that can be utilized is the plant itself. The simplest way to do so is to use the leaves, branches, and stalks for mulch. Not only is mulching a great way to provide soil with added nutrients, it also helps regulate temperature and protect roots, increase in water retention, deter weeds, and aid against fruit rot and mildew growth. Mulching can be bought from your local hardware store or plant nursery, or it can be easily made at home with materials that you’re already throwing away.
To make your own mulch, start by shredding some used paper and cardboard into 1-2 in. pieces. This can be from old newspaper or cardboard shipping boxes, just be sure to remove any plastic tape or glossy pages beforehand. Next, take any garden plants that are past their prime, or even unwanted tree or shrub branches, and start chopping into similarly sized pieces, leaves, stems, and all. Mix your cut up plants and paper together, then spread the mixture around the roots and base stalks of your newly planted garden. Just be sure that the plants you’re using for mulch didn’t die of a disease or have any fungus or mildew growing on them, otherwise this can spread to your new healthy plants.
For larger branches and stalks that aren’t so easily cut up, consider saving them and using them in the base of your planting container. There’s a famous German + Eastern European planting method called “Hugelkultur”, which utilizes large branches and sticks as a base for your raised and potted garden. While mulching provides nutrients to the top of the soil, the decaying branches and plant matter in hugelkultur nourishes the plant from underneath the roots. Not only that, but the added space provides air and much needed drainage to the soil that keeps roots from rotting and drowning.

Creating Compost
After you’ve used up all you can (or want to) from your plants, the last thing you can do is to compost the rest! We’re big fans of making your own compost, and have an entire article all about how to start your own compost pile from nothing. Not only does compost help prevent methane gas creation and reduce food waste, it’ll provide delicious nutrient soil for your plants at practically no cost to you. Since it’s made entirely of scrap food waste, leaves, and paper clippings (greens and browns), it’s way cheaper than the expensive fertilizers you can find at a store.
To add your leftover garden remnants to the compost, chop up any stalks and branches into medium to small sized pieces. No need to go too fine on this, the smaller pieces will just help the organic matter break down faster, but it will all break down eventually. Toss your plant remnants into your compost barrel, along with some added browns or greens if necessary, and give it a good mix. Then just let it sit to compost as usual, turning occasionally, and by the time Spring rolls around, you should have some beautiful compost ready for your next season of planting!
Want more gardening tips? Check out these articles about low-waste and budget-friendly gardening!