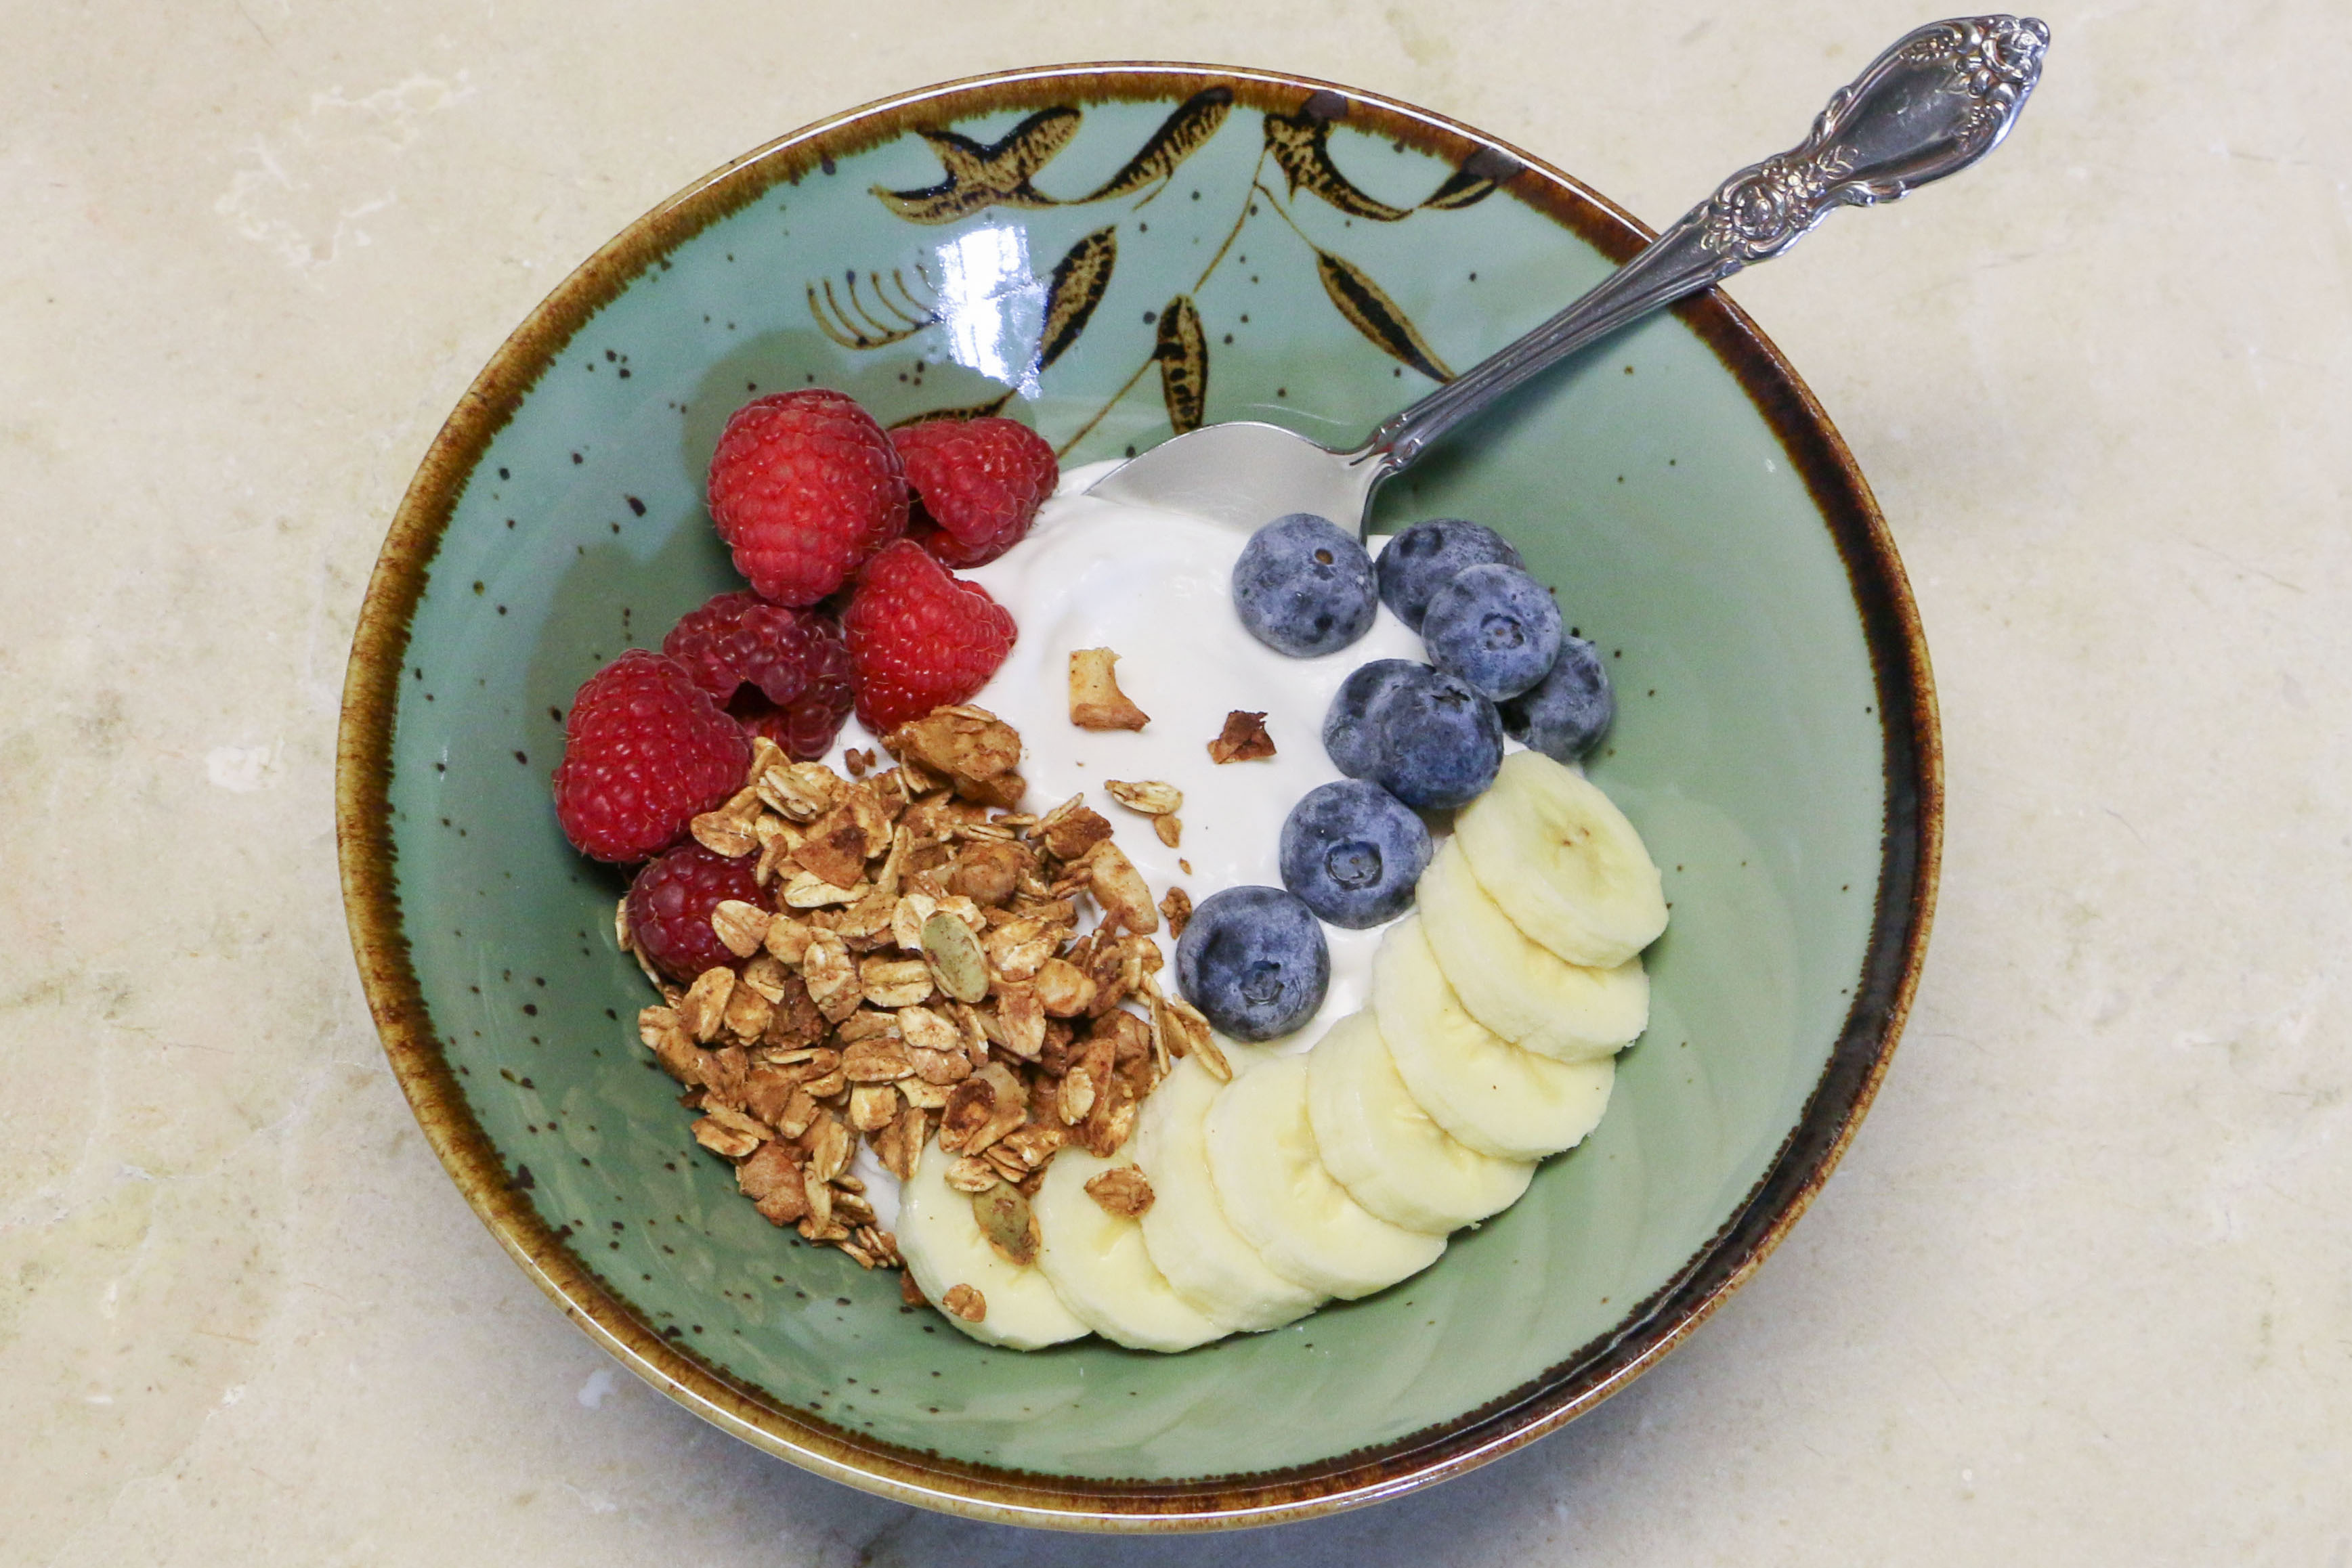
Thick & Creamy Vegan Yogurt

This homemade vegan yogurt is simple, healthy, and easily customizable! And even better, this recipe only has 2 simple ingredients, compared to store bought versions that are filled with stabilizers, preservatives, and sugars. Serve this yogurt up with some homemade granola for breakfast, as a healthy afternoon snack, or in place of sour cream with homemade vegan chili, you can’t go wrong!


Homemade Vegan Yogurt’s Environmental Benefits
The meat and dairy industries are hugely contributing to the amount of greenhouse gasses going into the atmosphere, switching even a few meals a week to vegan options can help combat this impact
Buying pre-packaged and convenience food from fast food chains or grocery stores promotes the use of single use containers, utensils, napkins, and more that’ll end up in landfills and oceans, whereas making the same meal at home makes single use items obsolete
The sugar industry has a huge impact on the environment, as excessive water and harmful chemicals are often used to grow sugar cane, which leads to habitat loss and environmental contamination and degradation

Thick & Creamy Vegan Yogurt
Prep Time: 5 minutes
Rest time: 12-72 hoursMakes 1½ Cups


Ingredients:
- Ingredients:
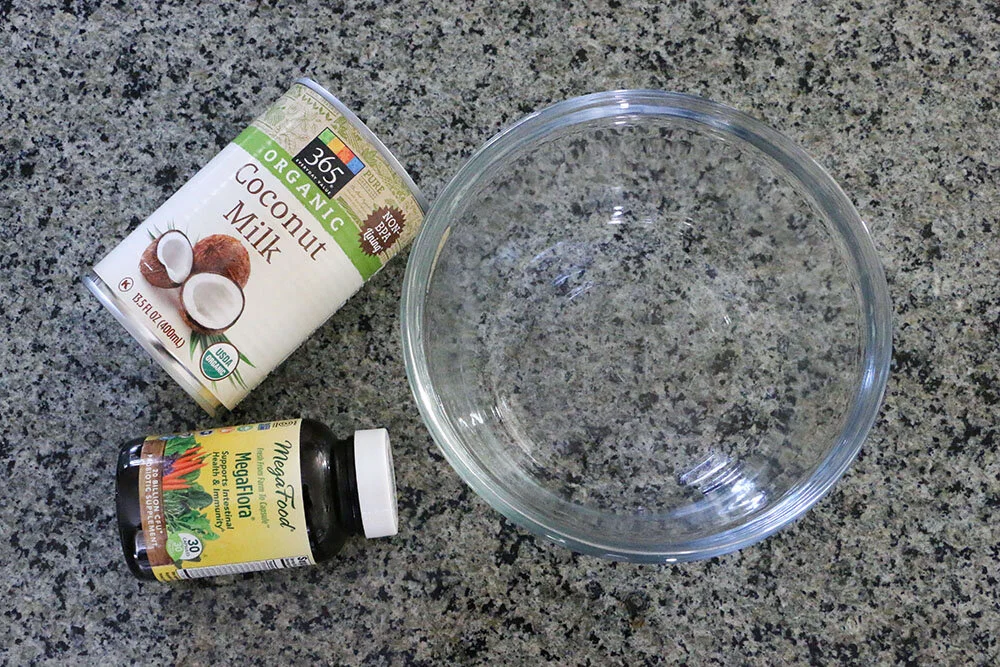
- 1 can of good quality Full Fat Coconut Milk or Coconut Cream (see notes)
- 2 Vegan Probiotic Capsules (see notes)
Optional:
- 1 tsp Vanilla
- Maple Syrup or Agave
Instructions:
1. CLEAN: Take a microwave safe glass bowl and thoroughly clean it with soap and hot water, so that it’s free of any bacteria that may inhibit the probiotics later. In the cleaned bowl, empty the can of Coconut milk or cream. Slightly heat the milk in the microwave just so the solidified fat can melt, and so it can reach room-temperature or slightly above room-temperature (this may not be necessary during summer months or in a hot climate).
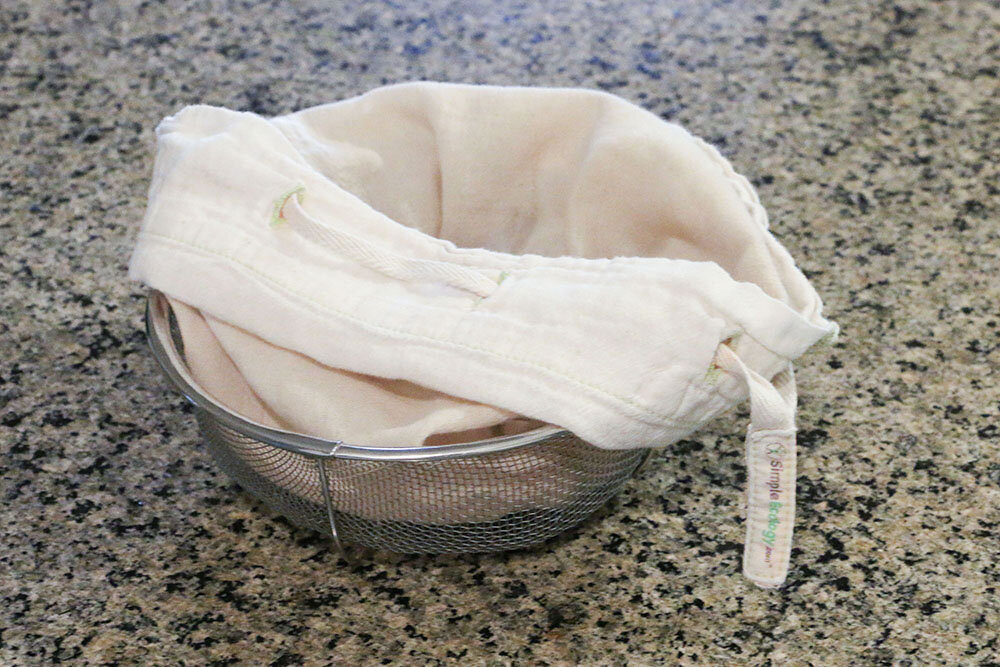
2. MIX: Open and empty the probiotic capsules into the milk, discarding the capsule itself, and mix it in with a non-metal spoon or spatula. Once the probiotics are fully incorporated, place a Reusable Fine Mesh Straining Bag on top of the bowl, and secure with a rubber band if necessary.
3. REST: Place the yogurt mixture into a warm place to let sit for 12-48 hours, checking occasionally, and leaving longer to achieve the tanginess and thickness desired. If making this during the winter or in a cold climate, place the mixture in an unheated oven with just the oven light on, this will create enough heat to keep the bacteria working. During the summer or in a hot climate, check the mixture more regularly, as the cultures will only take around 6-12 hours to work their magic.
4. CHILL: After sitting for the desired amount of resting time, remove the Straining Bag and place a Reusable Silicone Bowl Cover on top of the mixture. Let cool in the fridge for at least 12 hours, this will thicken up the yogurt considerably.
5. STRAIN: Check the mixture after it has chilled completely. If you like the texture and consistency at this point, you can skip the straining and go straight to eating! Otherwise, if you like thicker yogurt, place the Straining Bag into a mesh strainer with a bowl underneath, and transfer the yogurt into the straining bag. Let this drain for anywhere from 5 minutes-2 hours (depending how loose it was to begin with), allowing any excess liquid to drain out of the yogurt. Checking occasionally for consistency.
6. ENJOY: At this point, the yogurt is ready to be eaten! If you prefer flavored or sweeter yogurt to tart & tangy, add in a little vanilla extract, maple syrup, or agave. Transfer the yogurt into an airtight container and store for up to 1 week.
Notes:
Buying Coconut Milk – The backbone of this yogurt is the coconut milk used, and the quality of the milk can differ greatly between brands. The water content of the milk really does make a difference to the final product, so it is important that you buy a trusted brand that you know isn’t watered down too much. A good tip is to look at the fat content on the nutrition label, the Total Fat should be above 15% at least. Buying Probiotics – If you are not a frequent buyer of probiotic supplements, the aisle can be a bit intimidating. It can also seem expensive to spend $20-30 on a small bottle of probiotics, but this method actually save you money compared to buying vegan yogurt at the store. Look for the Certified Vegan symbol on the bottle to ensure that there are no animal products or traces of dairy in the probiotics. Using Yogurt as Starter – As this yogurt is cultured (has probiotics and healthy bacteria added) it can be reused to create your next batch of yogurt, just like how sourdough starters work for bread! I’ve found that using 2 Tbsp of starter yogurt to culture your next batch is possible, though there may be a slight bit to quality degradation the further you use the starter. However, the yogurt still tastes just as good (only slightly looser in texture), and this is a great way to save some money on probiotic capsules!

Did you make this recipe?
We love to see your pictures!
Tag @simple_ecology and hashtag it #simpleecology
© Simple Ecology